

Create a new Lead once a Calendly meeting is booked
With the Close Calendly integration, you can sync your scheduling links into Close. If a new Lead books a meeting, the Lead is not automatically added to Close, you’ll need an automation like Zapier to create the Lead.
Here’s what you’ll need
- A Zapier account that allows for multi-step Zaps
- Calendly account
- Close account
Creating your Zap
Login to Zapier and select Create. If you never used Zapier here are some tutorials on how to create Zaps.
Step 1: Select your Trigger
Select Calendly as your app and Invitee Createdas your Trigger Event.
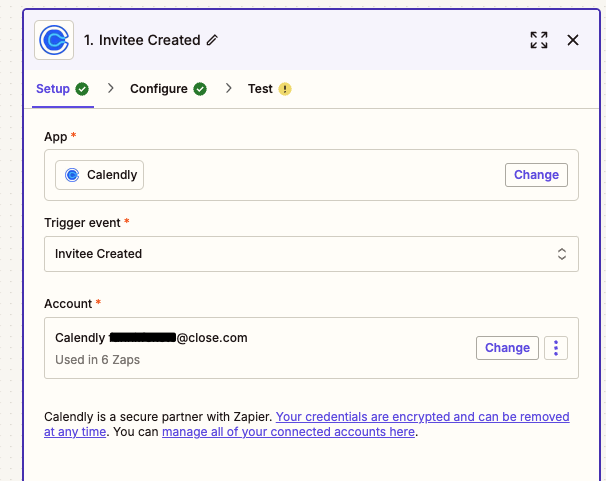
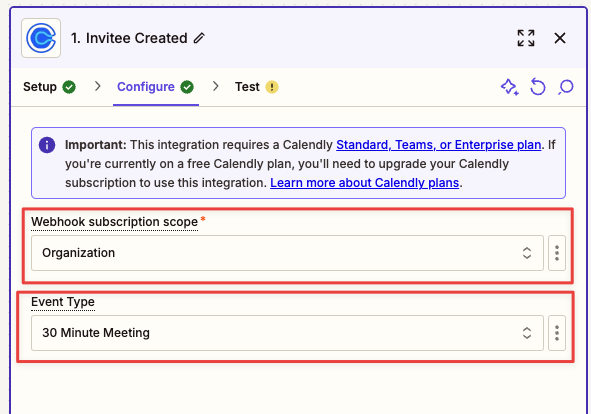
At the “configure” step, choose if you want to create new Leads based on events that are booked with one specific user, the whole organization, or a group of users. Then choose the meeting type the new Leads should be created based on.
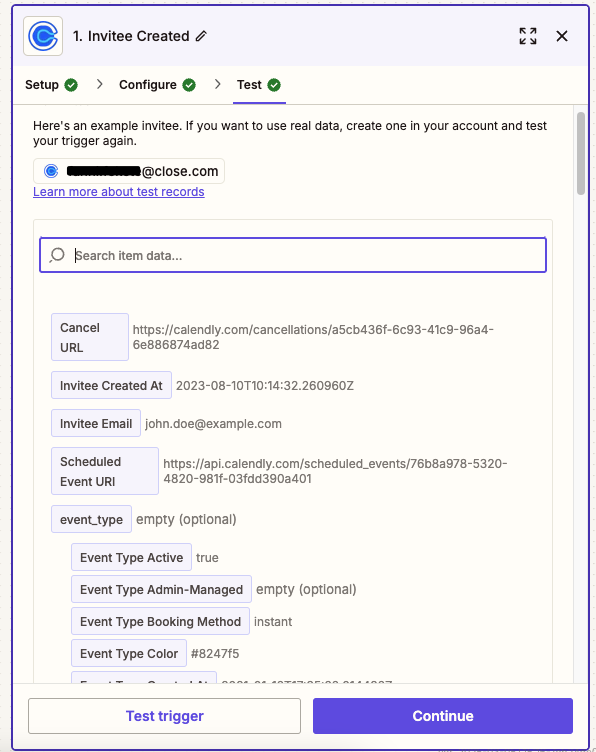
Test the trigger to make sure it’s set up properly.
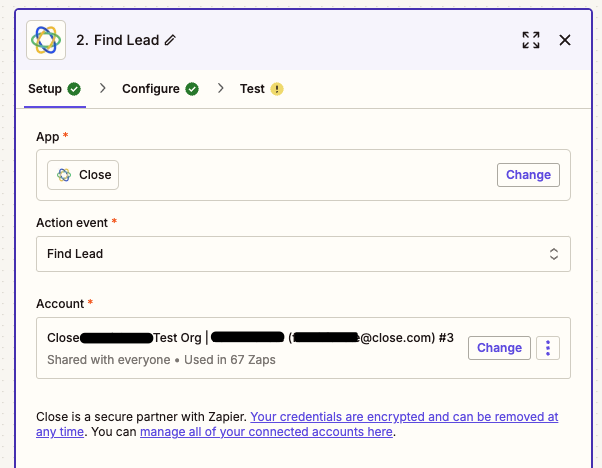
Step 2: Find a lead in Close to make sure you don’t crate duplicates
Select Close as the app and the Find Lead step to make sure you’ll try to find the Lead first. If there’s no Lead yet, you can create the new Lead with this step as well.
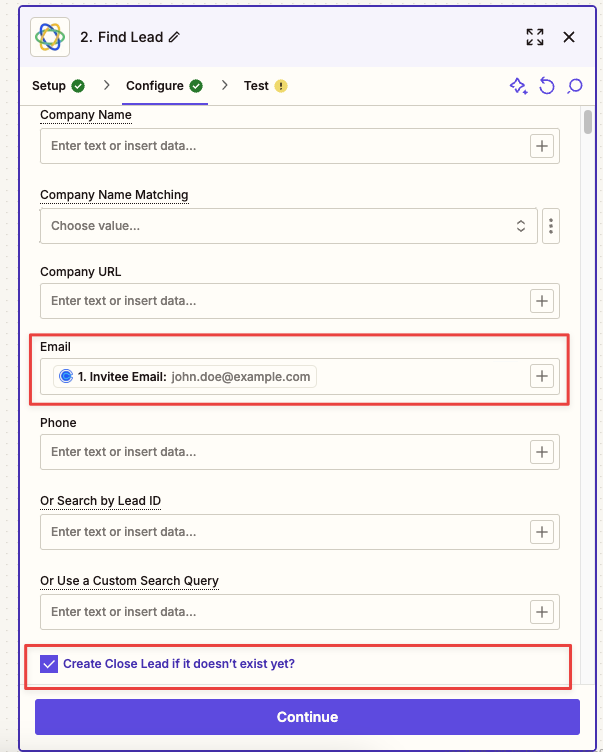
At the “configure” step, try to find an already existing Lead first. Use the Email address from Step 1 (Calendly) to try to find this Lead. If a Lead is found, no data will be added to Close, and Zapier will return the existing Lead ID in this step. Check the box in front of “Create Close Lead if it doesn’t exist yet?” to create a Lead if no Lead is found.
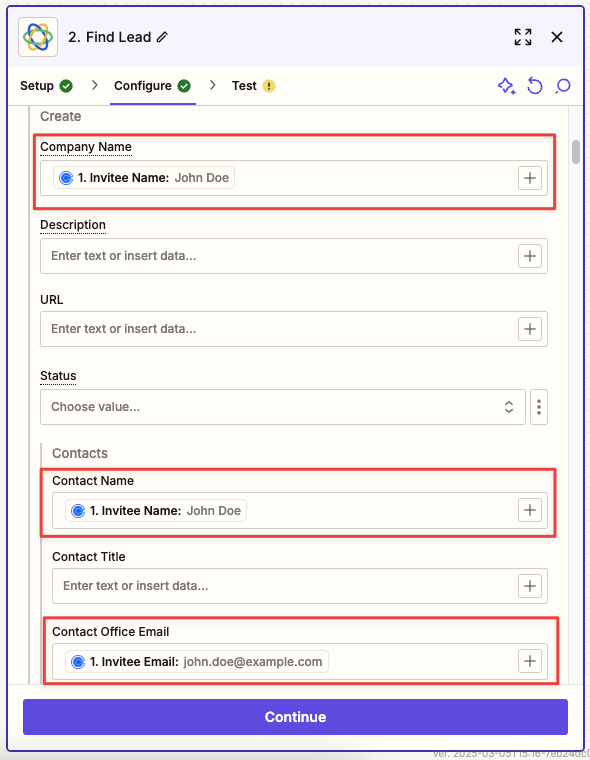
This will open up the “create” section, where you can choose what data to save on your new Lead. We recommend filling out the Lead name, Contact name, Email address and Phone number (if applicable) fields at minimum. You can get this data from Step 1 (Calendly.)
Once you are done, you can test this step to make sure everything works.
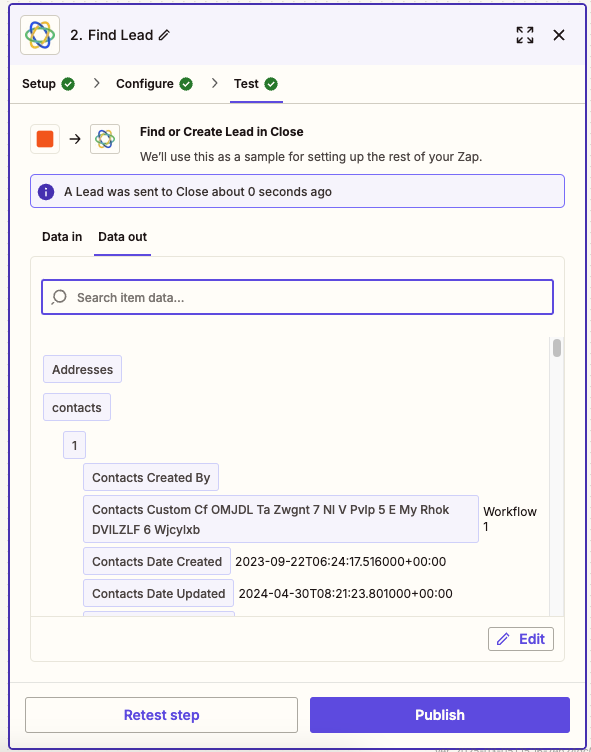
If all is well, click Publishand name your Zap.