

Voice Agent Setup
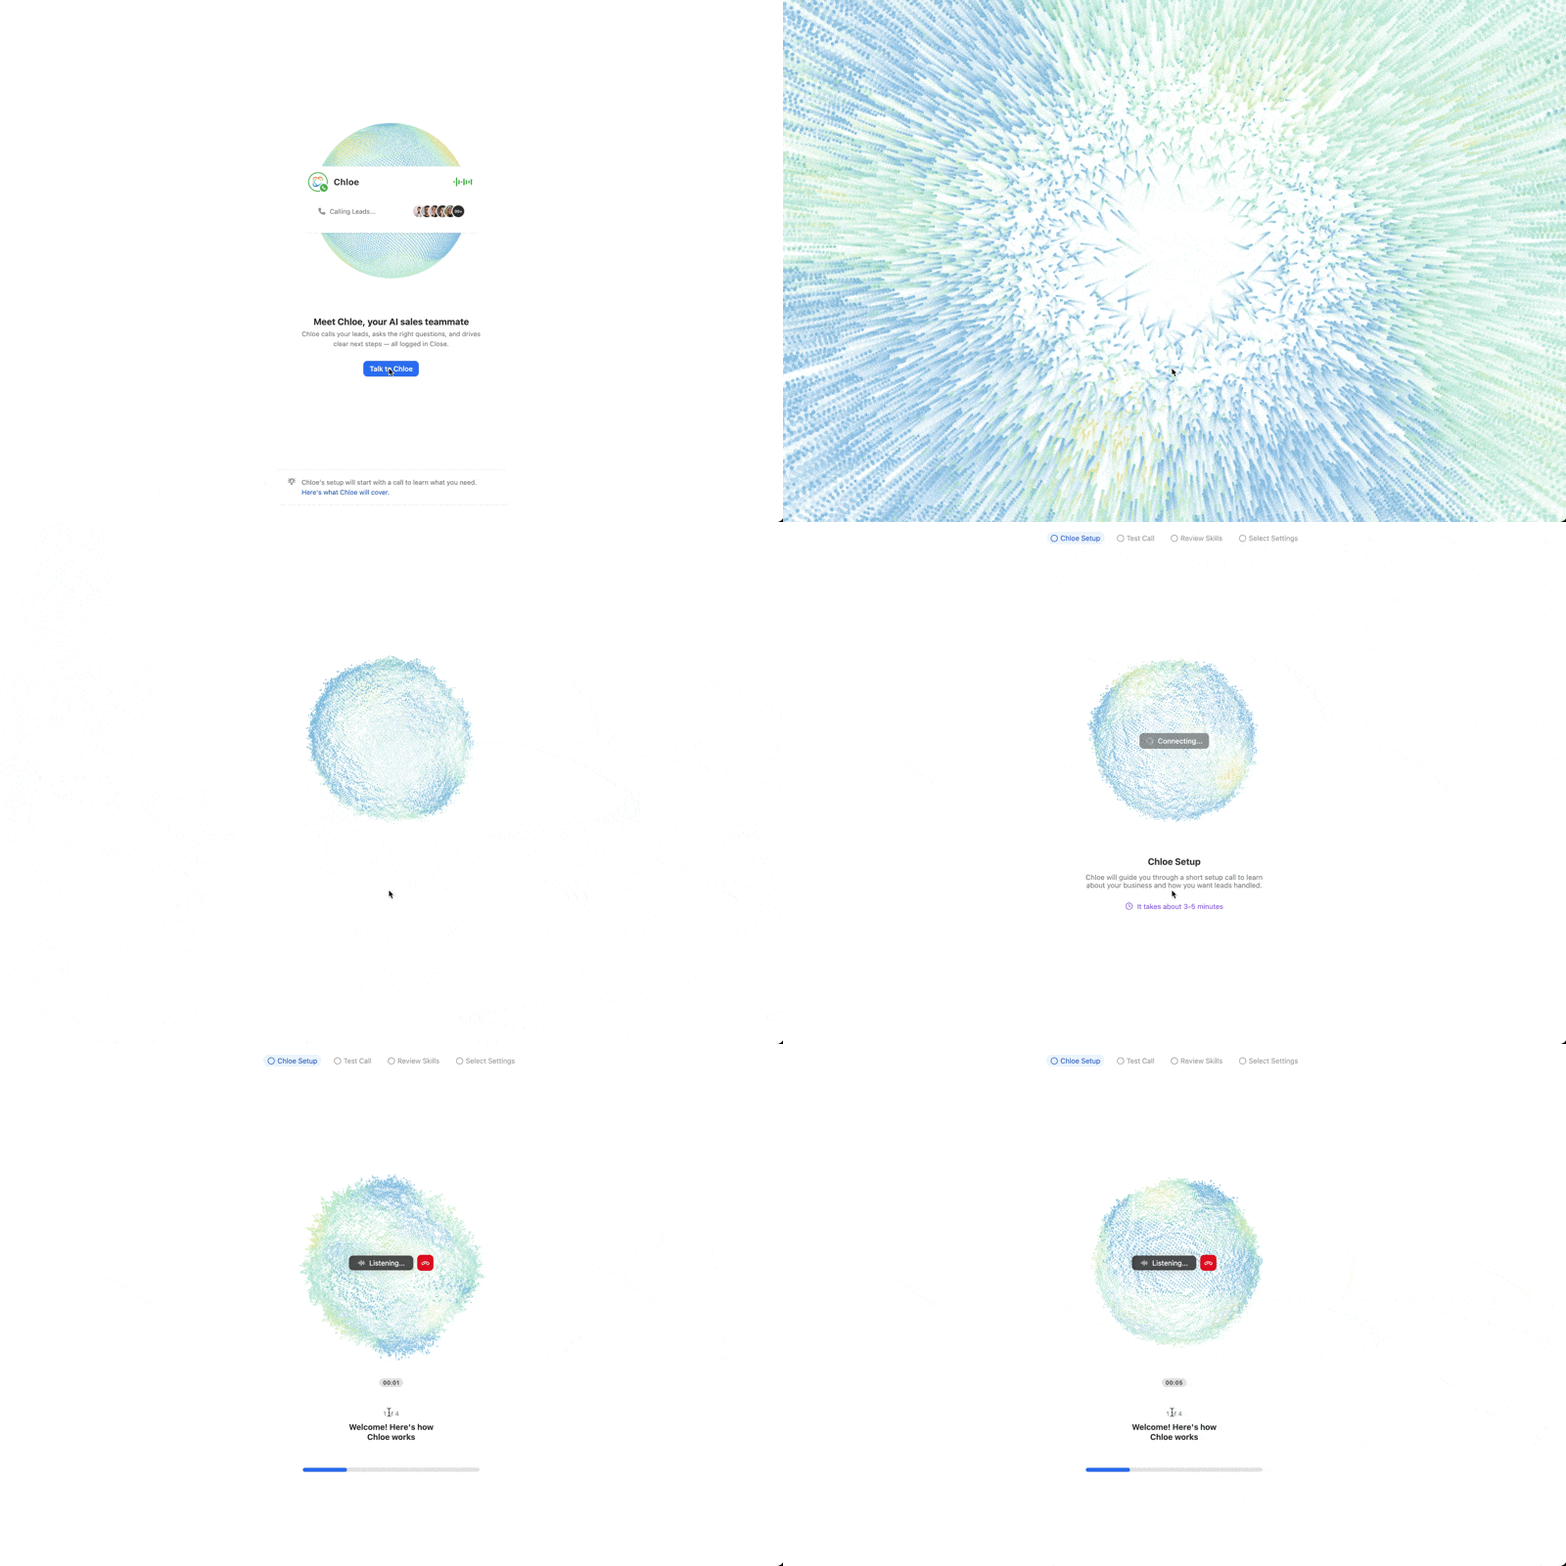
Setting up a Voice Agent starts with a short conversation with Chloe, where she learns about your business and builds your first prompt. From there you can refine the agent, test it, and activate it when ready.
Creating and configuring Voice Agents requires the Manage Voice Agents permission. Admins and Super Users have this by default. Users have View Voice Agents by default - they can see agents but cannot create, edit, or delete them. See Roles & Permissions for details.
Creating a Voice Agent
Go to Chloe > Voice Agents in the left sidebar and select + New Agent. You’ll be taken through a four-step setup: Chloe Setup, Test Call, Review Skills, and Select Settings.
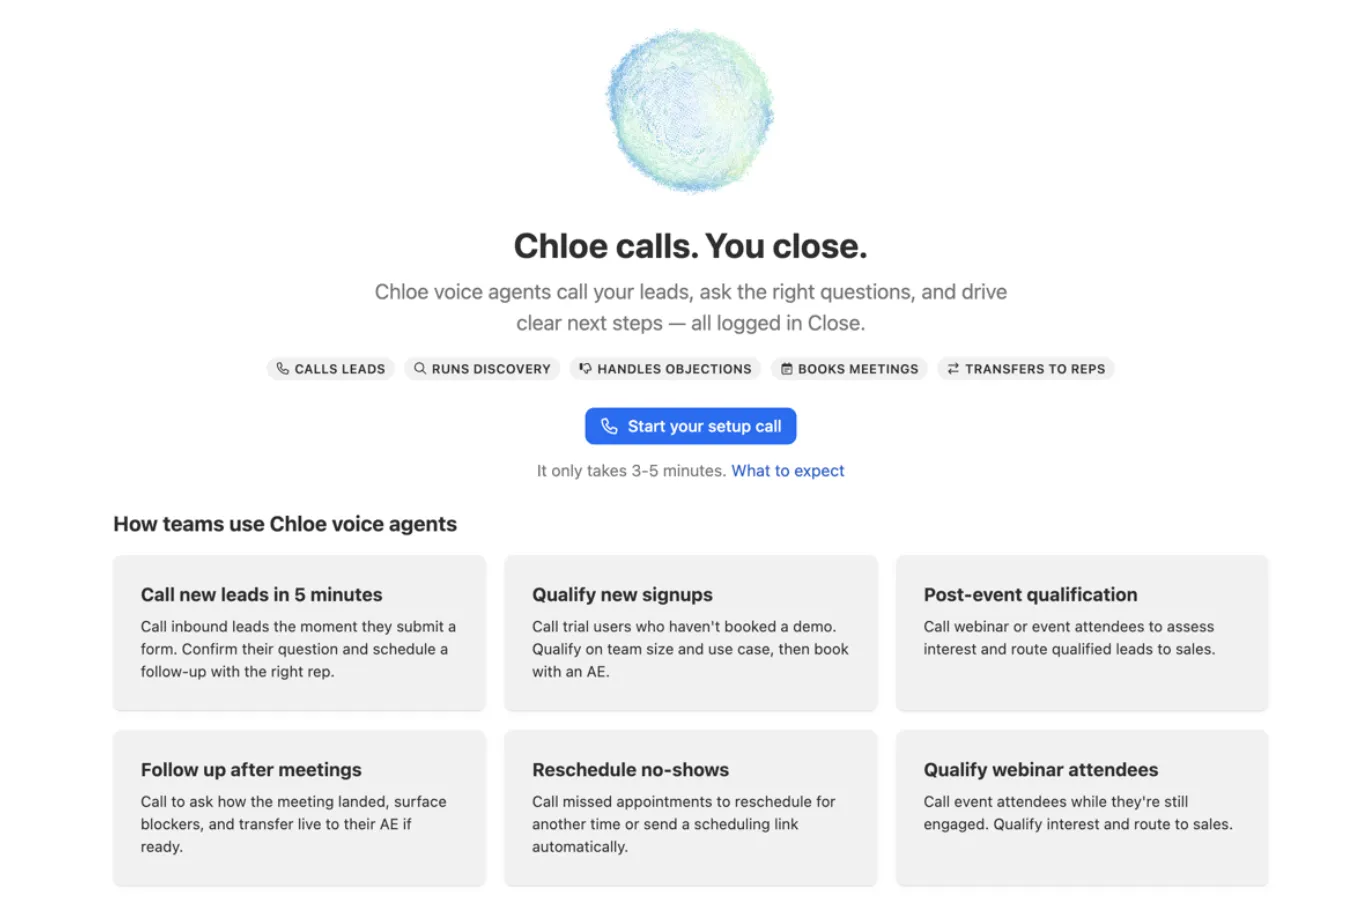
Step 1: Chloe Setup
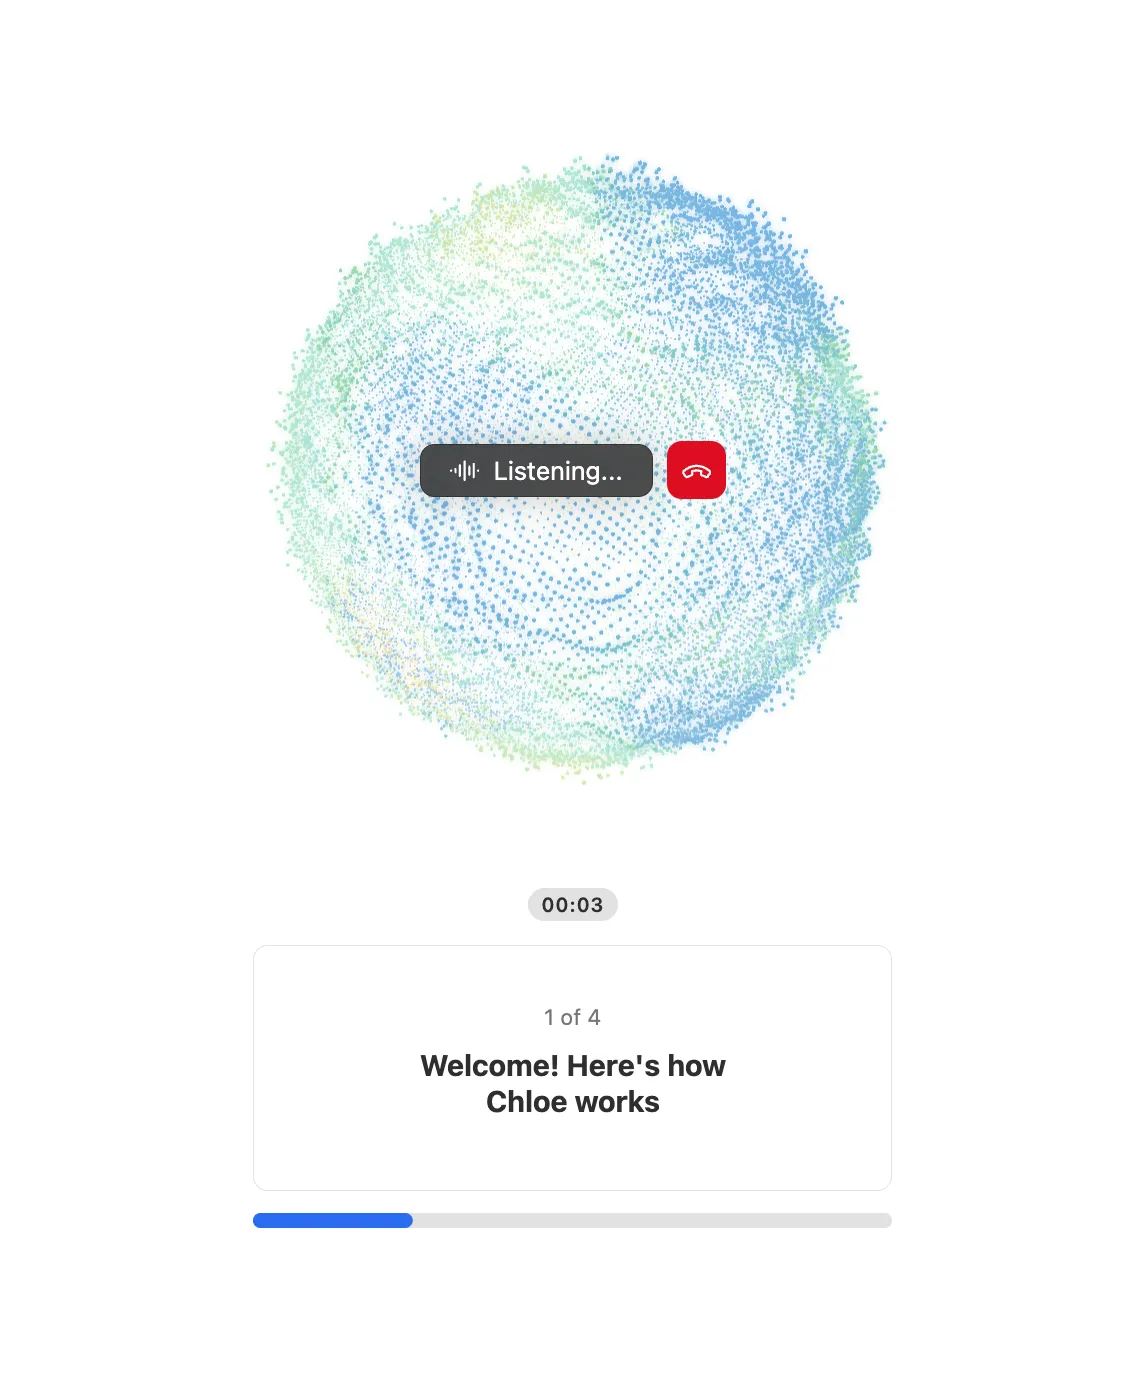
Select Start your setup call to start a short voice call that takes about 3–5 minutes. The call progresses through four stages shown on screen:
- Welcome! Here’s how Chloe works: Chloe introduces herself and explains what she does
- Share details about your business: what you do and who you’re selling to
- Decide how leads should move forward: your call flow, the questions Chloe should ask, and how she handles next steps
- Final review before your test call: Chloe confirms the setup and wraps up
Chloe is adaptive, and she’ll push back if something won’t work well and suggest better approaches. At the end of the call, she transitions you automatically to the test call.
Step 2: Test Call
Immediately after the setup call, Chloe calls you so you can hear her in action. The screen shows a live timer and a note that this is a test, and it won’t affect any live settings.
When the test call ends, a feedback panel appears. Share any feedback on tone, responses, or flow and Chloe will update the prompt in real time. You can run another test call from this screen before moving on. When you’re happy, select Review Skills to continue.
Step 3: Review Skills
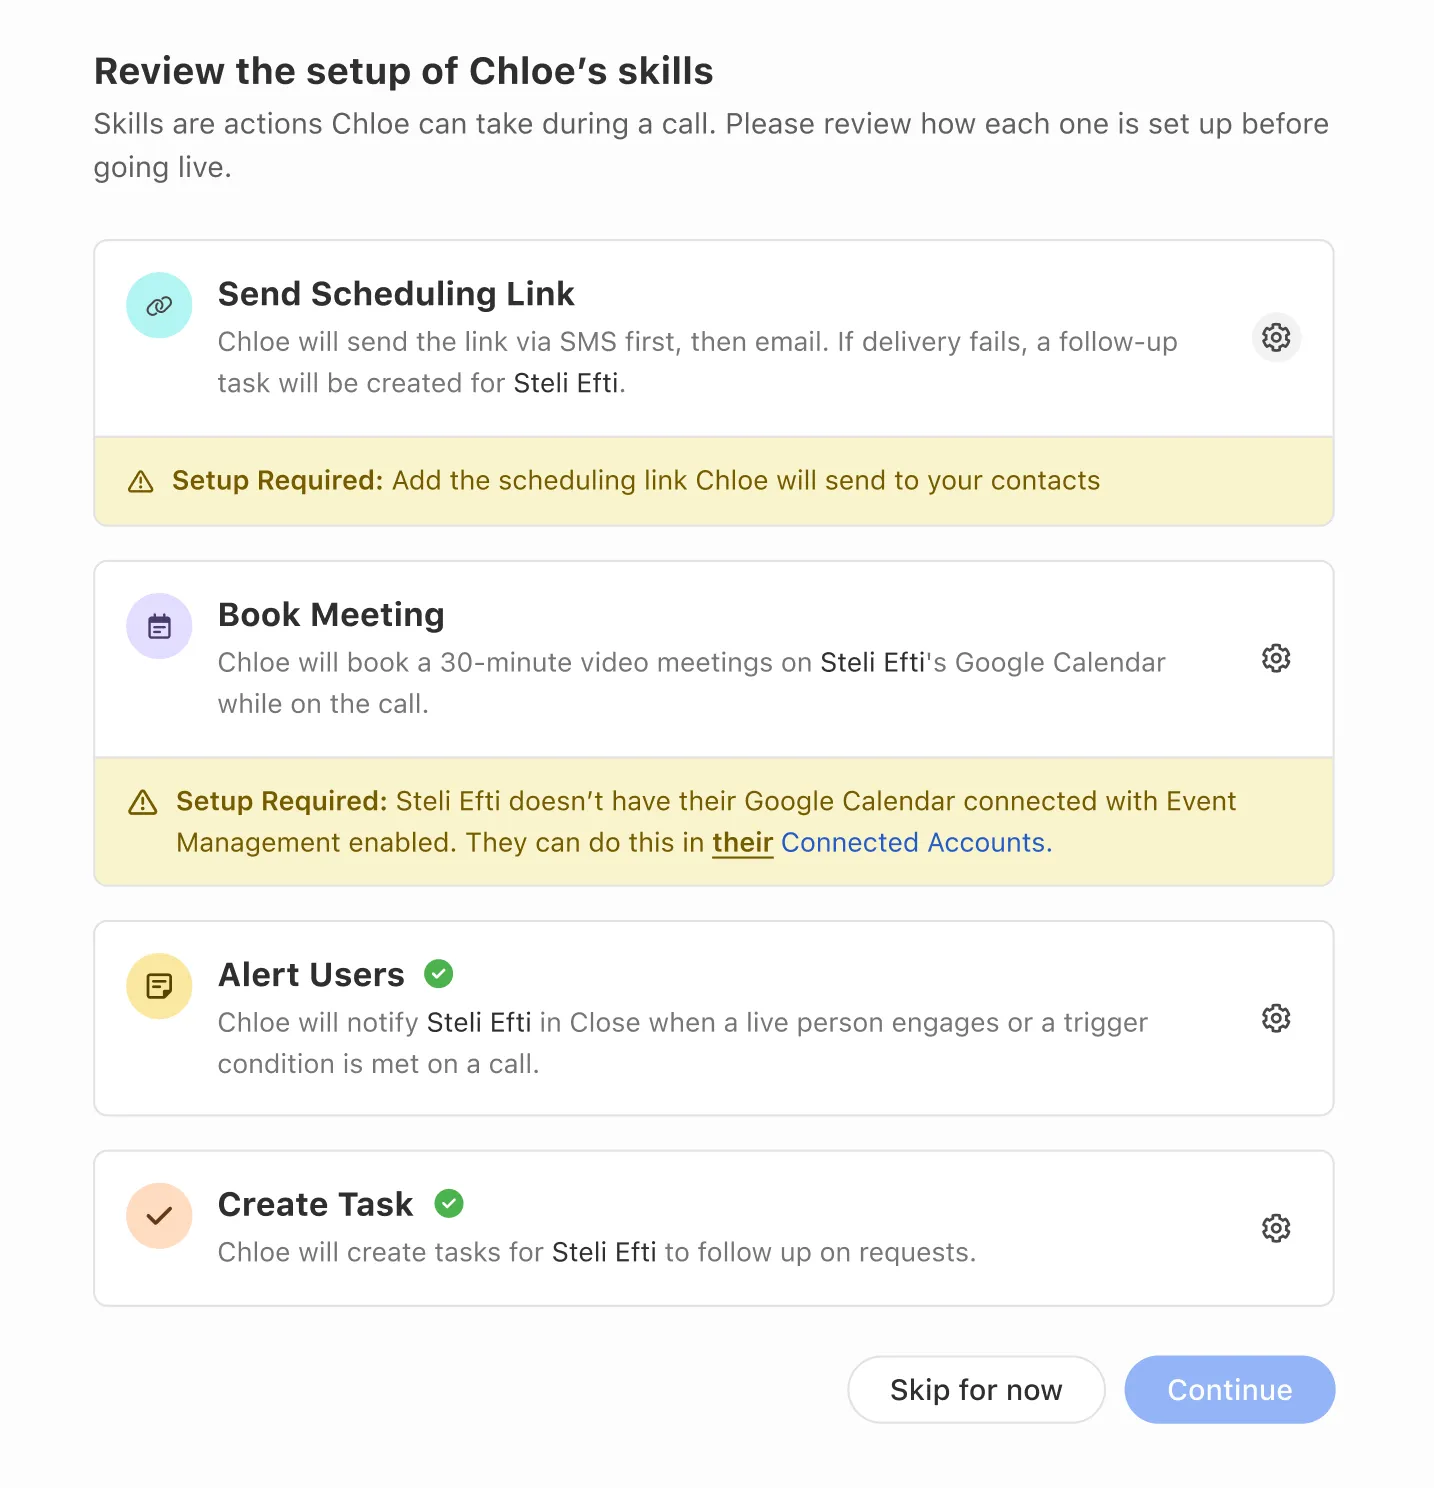
Chloe pre-selects skills based on your setup conversation. Skills marked Setup Required need additional configuration before they’ll work. Select a skill to configure it in the panel on the right. See Skills for details on each. You can skip this step and finish skill setup later.
Step 4: Select Settings
Choose the phone number Chloe dials from and the email address used for sending scheduling links. Select Complete setup to finish, and your Voice Agent is activated immediately and ready to be assigned to call tasks. If you select Skip for now, the Voice Agent opens in draft state and will need to be activated so you can begin assigning it calls to place.
Instead of a single number, you can choose Local Presence. The agent then picks the best number for each call from the numbers that have Available to voice agents turned on: a number the contact has connected with before if there is one, otherwise the number closest to the contact’s area code. Spreading an agent’s calls across several local numbers also avoids concentrating volume on one number, which helps keep it from being flagged as spam.
Local Presence only chooses between numbers that already have Available to voice agents on — turn it on for each number you want the agent to use under Settings > Communication > Phone & Voicemail. See Local Presence for how the selection works.
Voice Agent Editor
Select Edit from the Voice Agent Overview to open the editor. The editor has two panels:
- Left panel: A conversational AI interface. Describe what you want to change in plain language and Chloe updates the instructions. For example: “She sounds too formal, make it more casual”, “Chloe isn’t asking about budget, so add a question for that”. Review the result in the Instructions tab, then click Update to save.
- Right panel: Tabs for Summary, Instructions, Skills, Knowledge, Settings, and Test Variables, each described below.
At the top: Test call and Run Simulations to validate changes, Cancel to discard, and Update to save.
If your Voice Agent is in draft state, Update saves your changes as a draft and they won’t go live until you activate. If your Voice Agent is already active, clicking Update pushes changes live immediately. You can run a Test Call or Run Simulations before clicking Update.
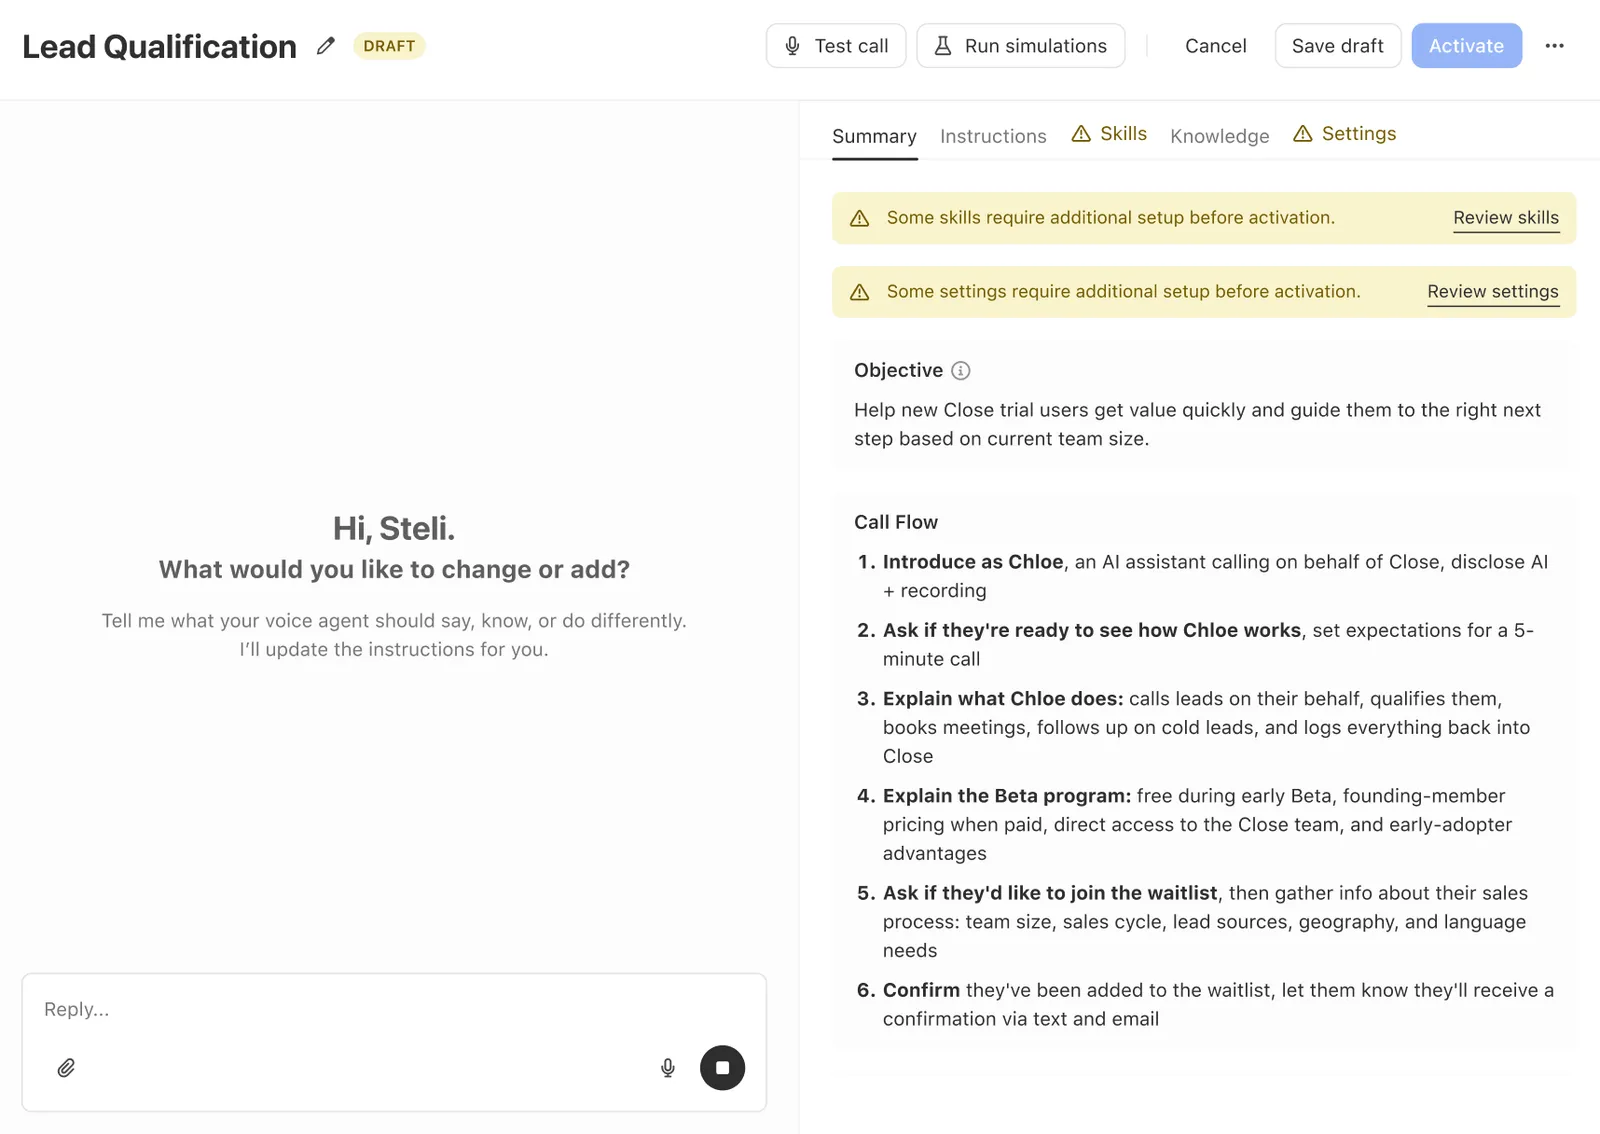
Summary
This shows an overview of the agent’s current configuration, including goal, outcomes, skills, and knowledge sources. If any skills require additional setup before the agent can go live, a warning banner appears here with a link to review them.
Instructions
The prompt that drives Chloe’s behavior on calls is structured into sections like Call Context, Opening Sequence, and Call Flow. Use the left panel to make changes in plain language, or select Advanced edit to edit the Company Details and User Instructions fields directly.
Chloe is required to disclose at the start of every call that she is a virtual AI assistant and that the call is being recorded. This is shown as a notice in the Instructions tab and cannot be disabled or overridden.
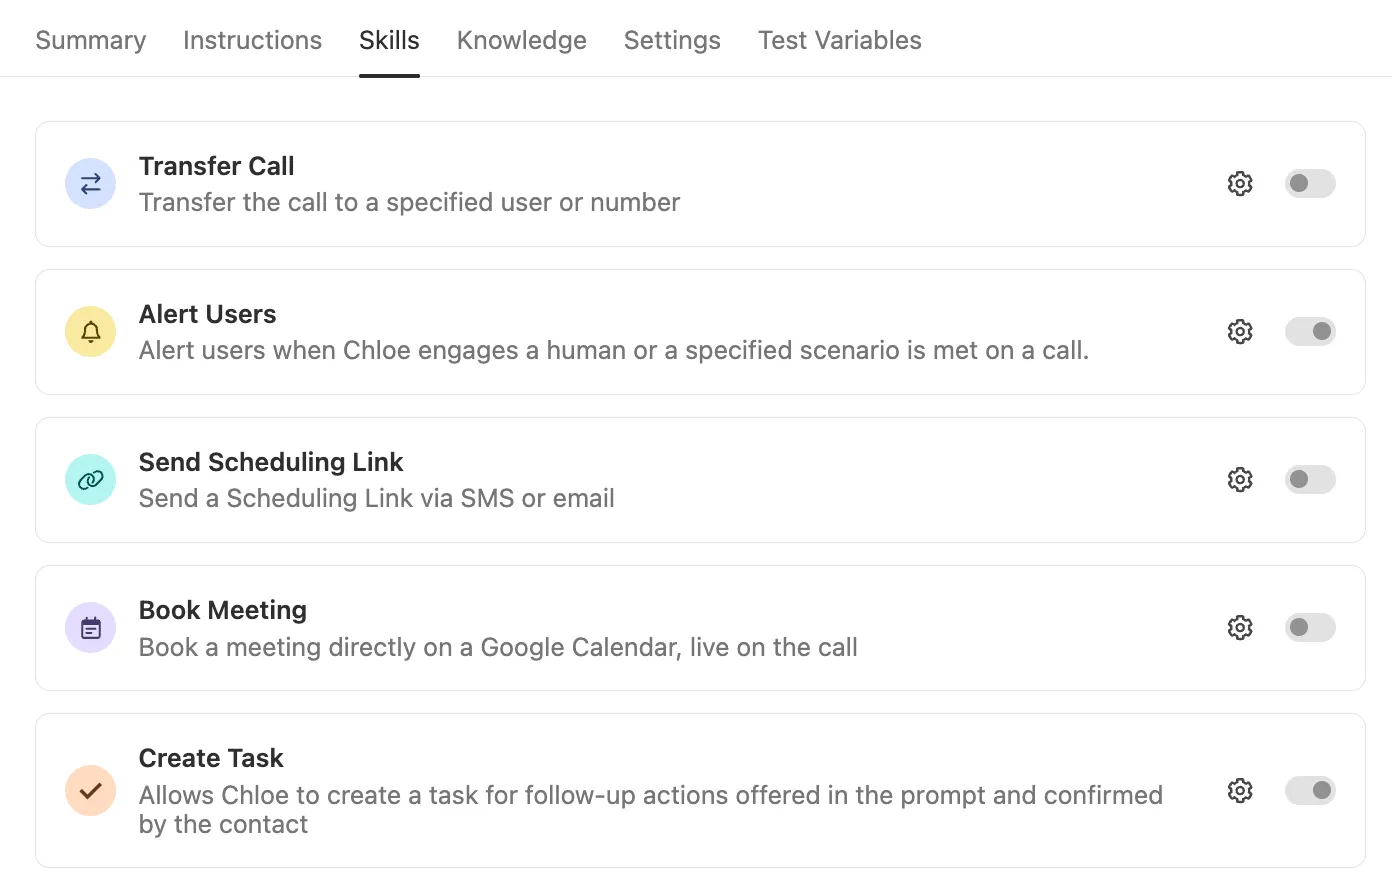
Skills
Skills are the actions Chloe can take during a call, such as transferring to a rep, booking a meeting, or sending a scheduling link. Toggle each skill on or off. Skills with a gear icon have additional configuration options - select the gear to set them up. See Skills for details on each skill and what setup is required.
Knowledge
Connect knowledge sources Chloe can use during calls. There are two types:
- Built-in knowledge: always available and immediately accessible. Use this for key facts about your business and products.
- Searchable knowledge sources: Chloe looks these up when needed. May take slightly longer to access during a call.
Select the sources you want this Voice Agent to use. Knowledge sources are managed centrally in Settings > AI Knowledge Sources. See Knowledge Sources for details.
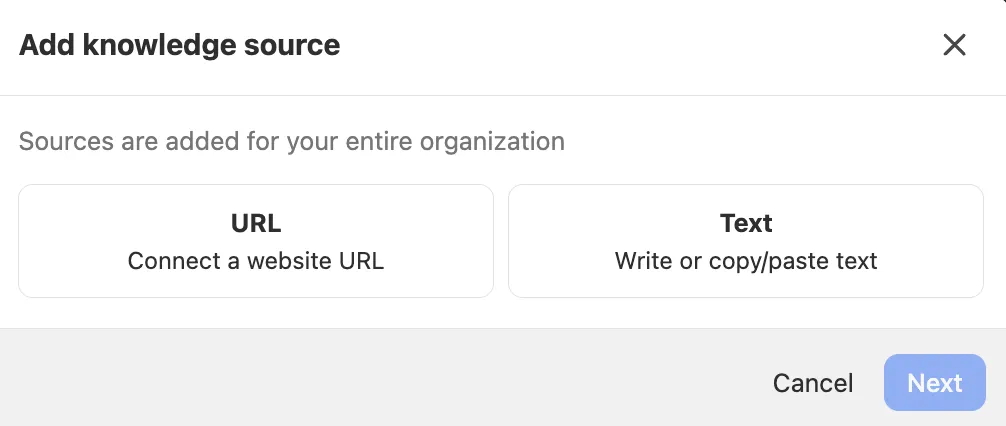
Avoid adding internal or sensitive company information to knowledge sources. Chloe may surface this to contacts during calls.
Settings
A voice agent can only dial from a number that has Available to voice agents turned on. This is separate from Available to non-members, which governs which numbers your reps can use as caller ID - a number can be available to your whole team without being available to Chloe, and the other way round.
New numbers have this turned off by default, so a number you just rented won’t be selectable for an agent until you enable it.
An admin can turn it on under Settings > Communication > Phone & Voicemail by selecting the number; it requires the Manage Team Phone Numbers permission.
If you try to save a voice agent with a number that isn’t enabled, Close won’t save it and the error will tell you which setting to turn on.
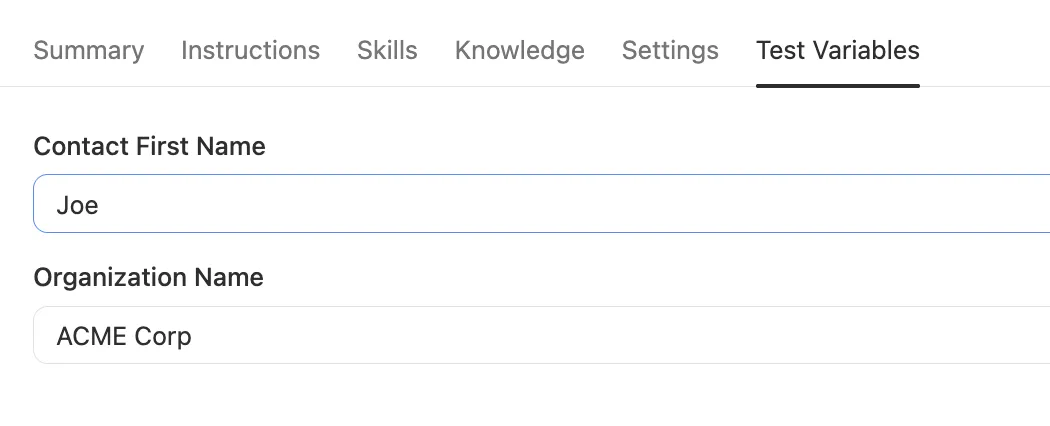
Test Variables
Define sample values for each variable before running a Test Call. If Chloe references {{contact.first_name}} in her prompt, Test Variables let you set a realistic value so the call behaves as it would on a real lead.
Running a Test Call
Select Test call from the top bar and verify Chloe’s behavior. Test calls use your current configuration and do not affect your live agent or real leads. Values from the Test Variables tab are used in place of real lead data.

During a test call, Skills run in mock mode. Chloe will go through the motions of using them, but no tasks are created, no meetings are booked, and no scheduling links are actually sent.
Run Simulations
Run Simulations becomes available once you’ve made edits to a Voice Agent. It runs simulated call conversations using AI-generated contact personas. These aren’t real calls, and AI credits are not used.
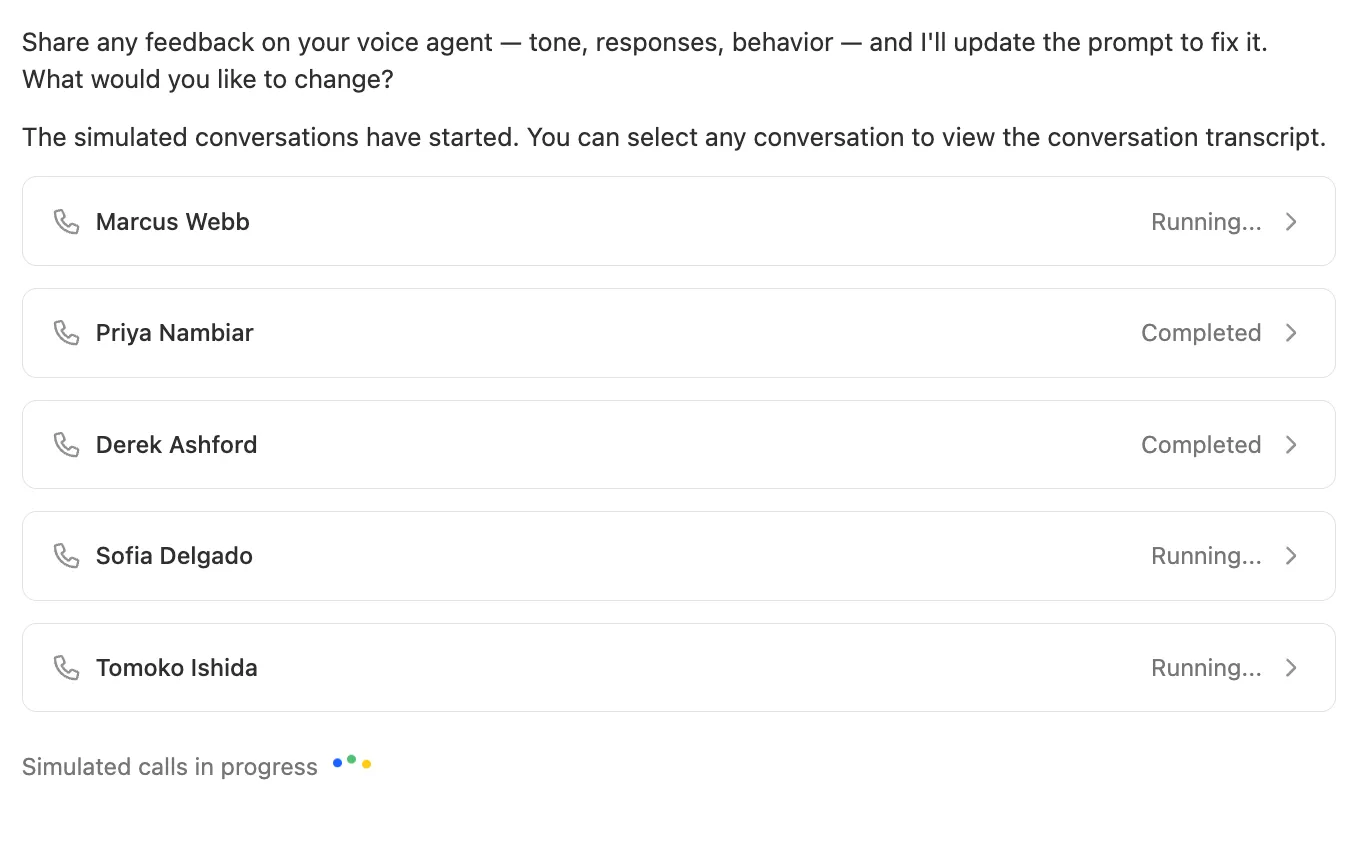
Chloe generates a set of personas (a warm prospect, a skeptical gatekeeper, someone who wants to reschedule, etc), runs through each conversation, and returns graded results: pass/fail per criterion with transcript evidence.
Activating your Voice Agent
When a Voice Agent is in draft state, all changes are saved without affecting anything live. To go live:
- Review the Summary tab to confirm setup is complete
- Click Activate to activate the Voice Agent
After activation, the button changes to Update. Any further changes you make go live immediately when you click Update. There is no draft state for an active agent.
Once activated, the Voice Agent is available to be assigned to call tasks via a Workflow or Batch call. Calls do not happen automatically, and Chloe only calls when triggered.
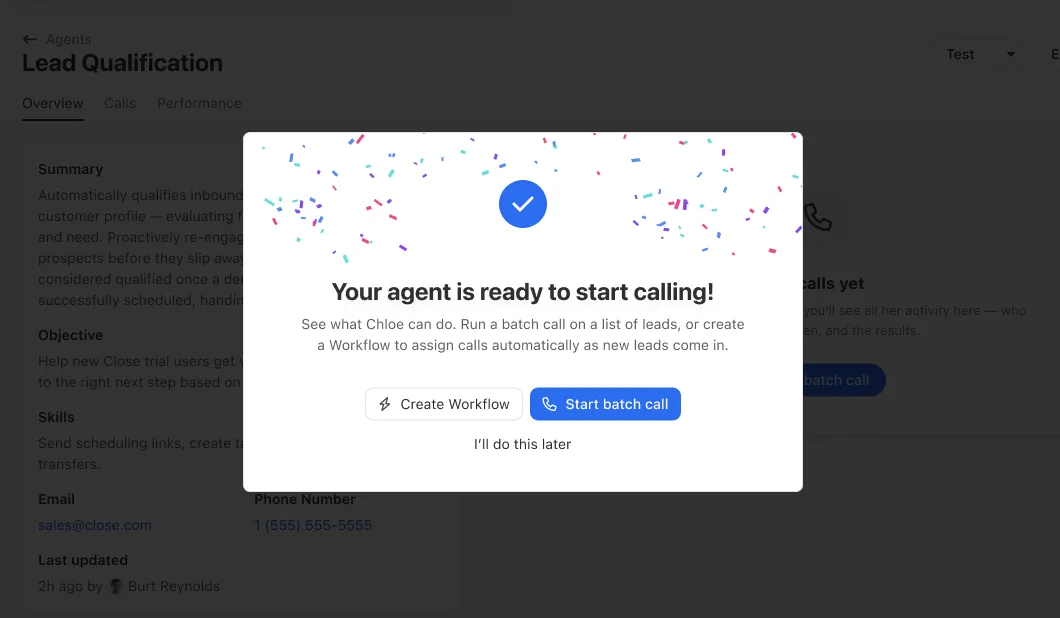
Chloe performs best when she has clear, well-described Outcomes to choose from at the end of each call.
Pronunciation
Use Pronunciation to correct how Chloe says names, products, and acronyms that text-to-speech gets wrong. Pronunciation applies to all Voice Agents in your organization, so an entry you add affects every agent.
Adding a word
- Open the Voice Agent editor and go to the Settings tab.
- Scroll to Pronunciation and select Manage.
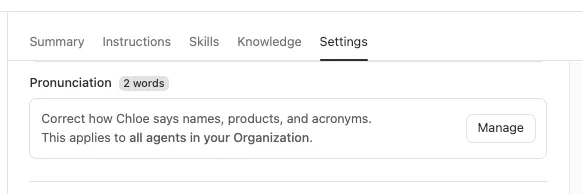
- In the Pronunciation panel, select + Add word.
- Choose the Alias or Phonetic tab (see below), fill in the fields, and select Save.
- Select Done to close the panel.
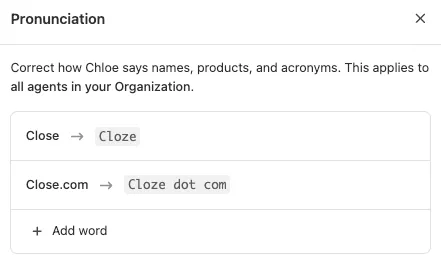
Saved entries appear at the top of the panel as Word → Pronunciation, and the Pronunciation section shows how many words you’ve added. To add another word, select + Add word again.
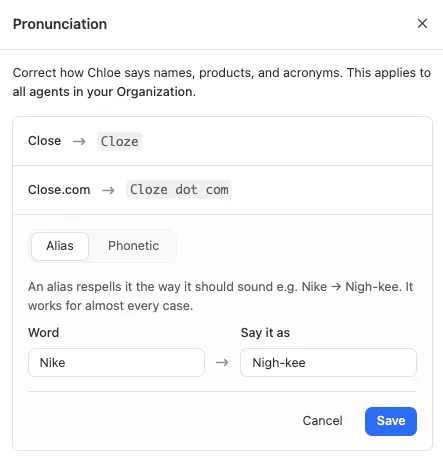
Alias
An alias respells the word the way it should sound. It works for almost every case.
- Select the Alias tab.
- In Word, enter the word or phrase as it’s written.
- In Say it as, enter the respelling.
For example, enter Close in Word and Cloze in Say it as so Chloe says “Cloze” instead of “Close”. Another example: Nike → Nigh-kee.
Phonetic
Use Phonetic when an alias can’t get the sound right. It’s an advanced option that requires a phonetic notation (IPA or CMU).
- Select the Phonetic tab.
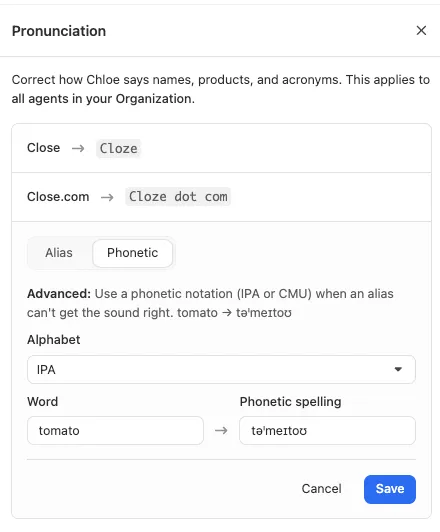
- In Alphabet, choose IPA or CMU.
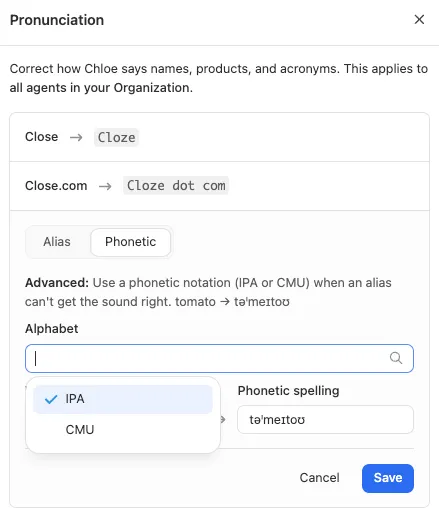
- In Word, enter the word or phrase as it’s written.
- In Phonetic spelling, enter the word in the chosen notation. For example, “tomato” in IPA is
təˈmeɪtoʊ.
Try an alias first. It’s simpler to write and fixes most pronunciation problems.
Deleting a Voice Agent
Open the Voice Agent editor, go to the Settings tab, and select Delete Voice Agent. When deleted:
- The linked Playbook is automatically archived
- Any Workflow steps assigned to this Voice Agent will stop functioning. Update those Workflows before deleting
- All historical call data on lead records remains intact