Getting started
Create your SendGrid account
- Create an account with SendGrid. SendGrid offers 40,000 emails for 30 days, then 100 emails/day. Beyond that, you'll need to upgrade to a $14.95/mo plan that offers about 40,000 emails per month.
- Activate your SendGrid account. Open the SendGrid activation email you received in the email account you used for signup and follow the instructions.
Adding your domain name to SendGrid
- First, we need to set up Domain Authentication that includes SPF and DKIM to ensure our emails are delivered to recipients. Go to Settings > Sender Authentication > click the Get Started button – or click here.
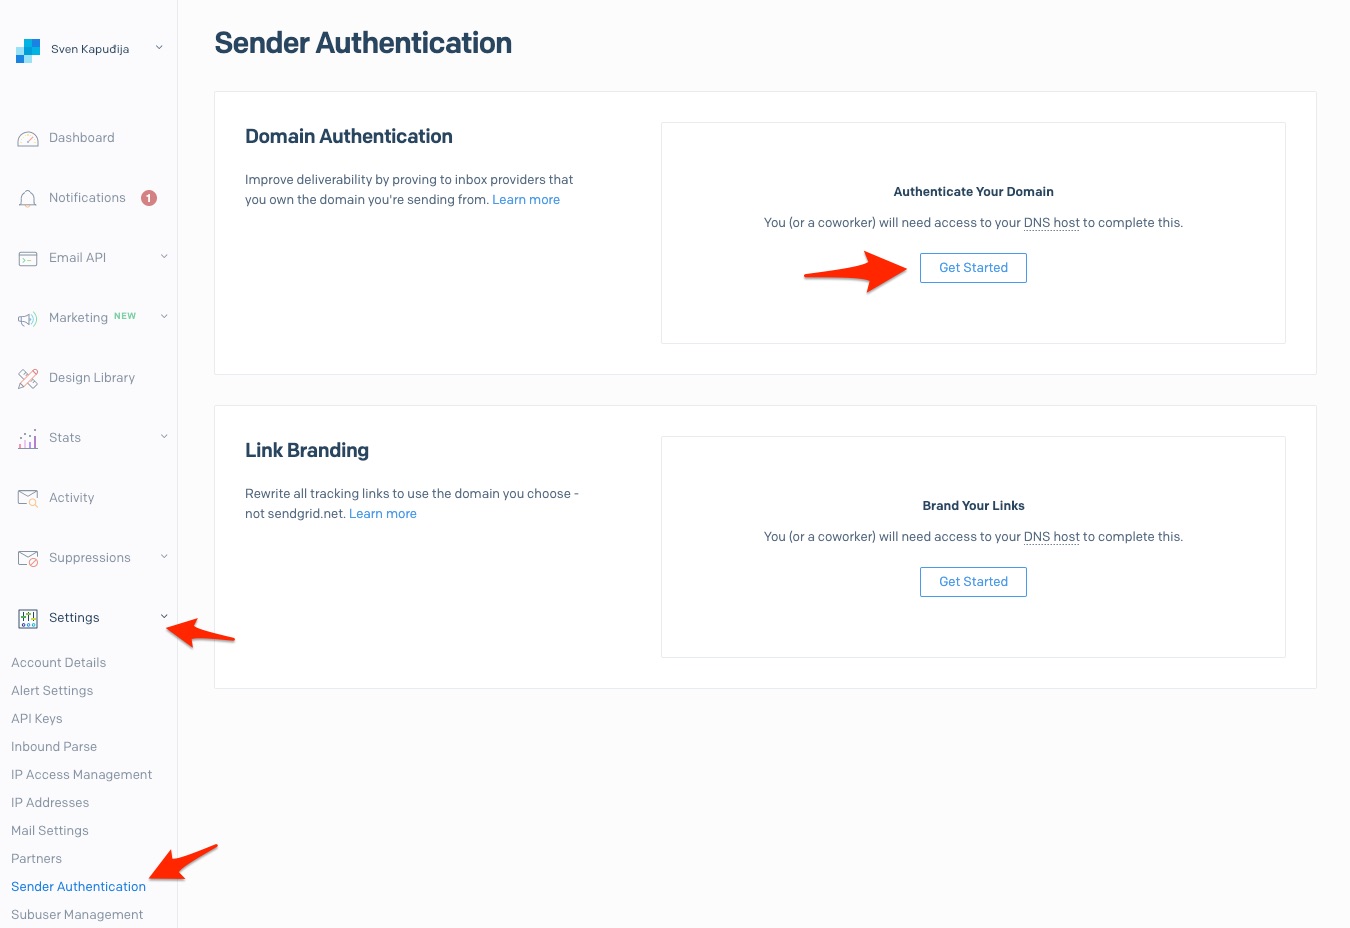 Getting Started with Sender Authentication
 - Add your domain. If your email is
bob@mycompany.com, then your domain name is everything after the "@" symbol -mycompany.com. We will leave Advanced Settings as-is.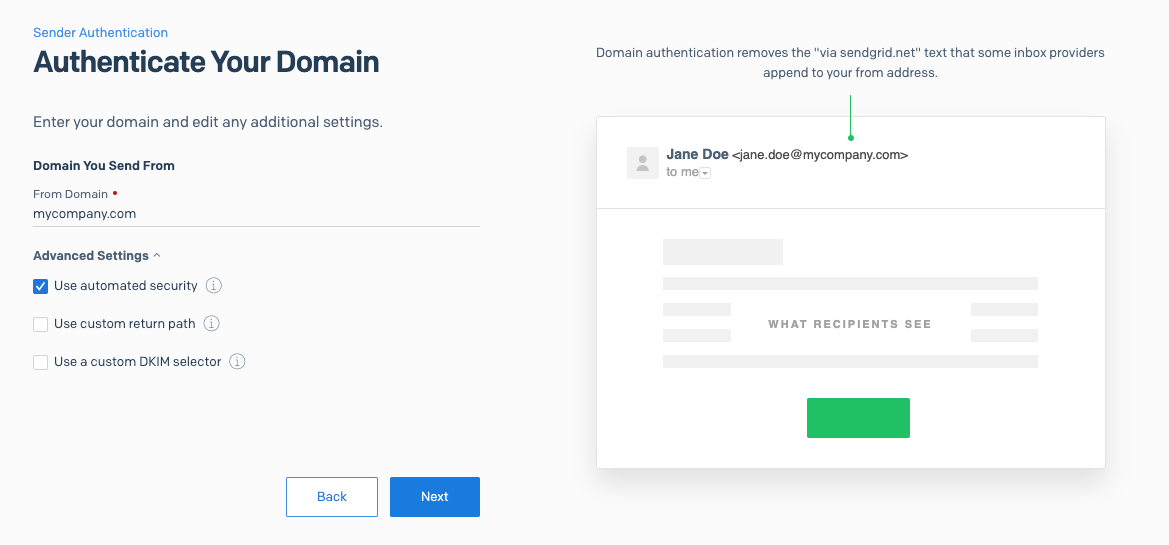 Entering domain name
 - Select your DNS host (e.g., GoDaddy, Namecheap, etc.), and, for now, we won't be using brand links, so we will leave the second question as
No. Instead, our emails will have Close's email tracking enabled.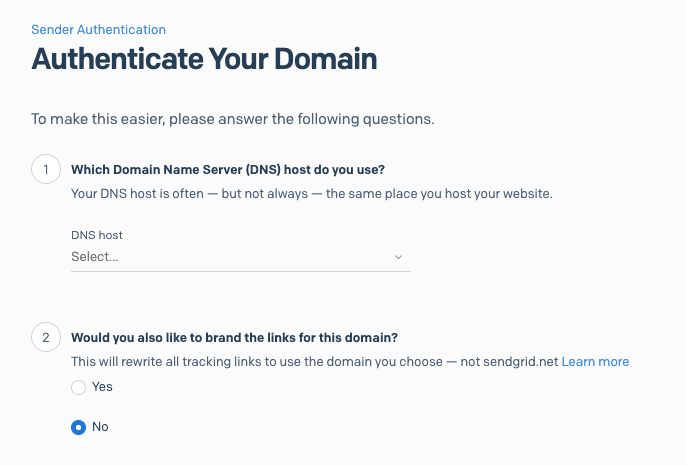 Selecting the DNS host for your domain
Link Branding is used for open email tracking images and click-tracking links so that links are pointing to your domain instead of using default SendGrid's. That way, the email's reputation is higher, and so is deliverability. See more info on SendGrid.
- Depending on your DNS host selection, this page might differ. The image below shows when you select
Other host (not listed)which is an option for manual configuration. Keep this tab open for easy copy-paste for the next step.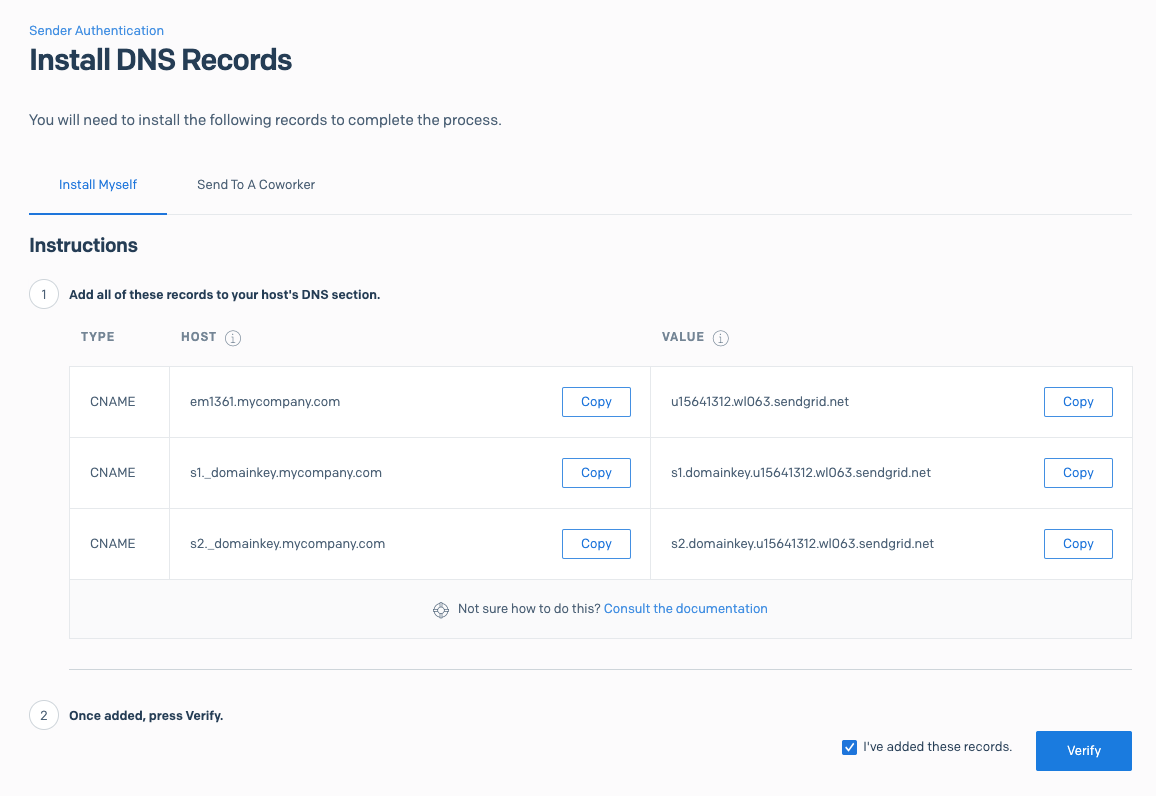 SendGrid's DNS records
Adding the DNS entries
- Log into your domain register/host and navigate to the DNS settings.
Revisit the You'll Need Your Domain Host Credentials section above and click on the various domain hosts listed for examples of modifying DNS entries.
- Create the first CNAME record - in our case, that's
em1361.mycompany.comwith valueu15641312.wl063.sendgrid.net. - Create the
s1._domainkeyands2._domainkeyCNAME records. - Save your DNS changes.
- Back in SendGrid, click the
Verifybutton, and you should be greeted withIt worked!confirmation.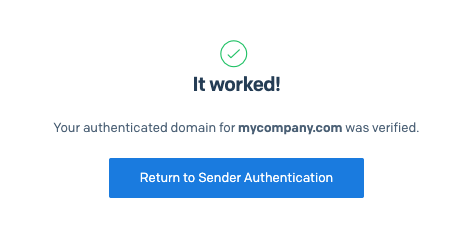 Completed DNS verification
After you save your DNS records, it will take approximately 24-48 hours to propagate them globally.
Configuring Close to work with SendGrid's SMTP
- Once your DNS settings are verified (usually 24-48 hours later), log into your SendGrid account in your web browser.
- Go to
Email API > Integration Guide > SMTP Relay - Chooseto set up an SMTP relay.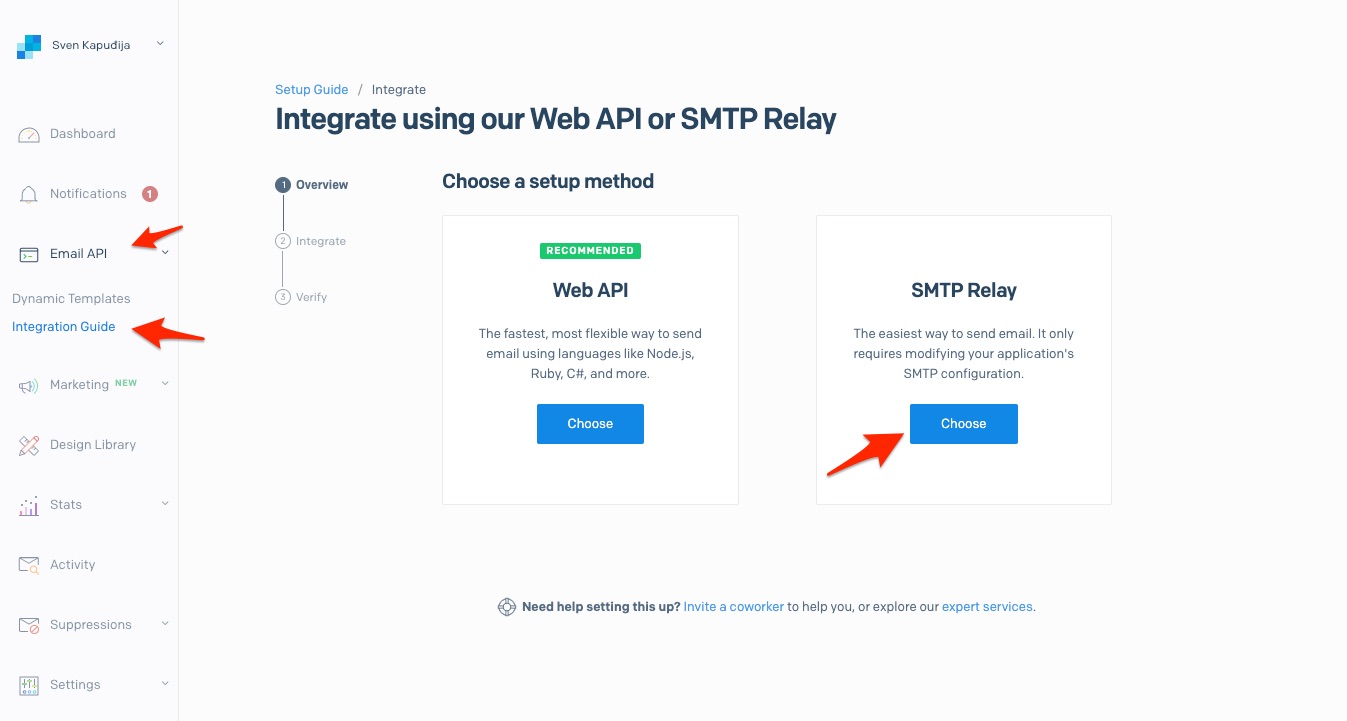 Setting up an SMTP relay
 - Enter the name for your API key and click
Create Key, which will act as yourPasswordwhen connecting the email account in Close.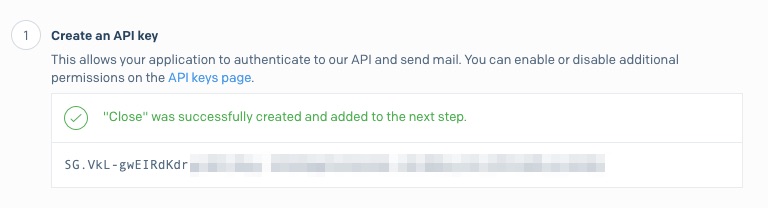 Generating an API key
 - Make sure you keep the info from this page saved, as we will need it in the next step. Click on
Next: Verify Integration.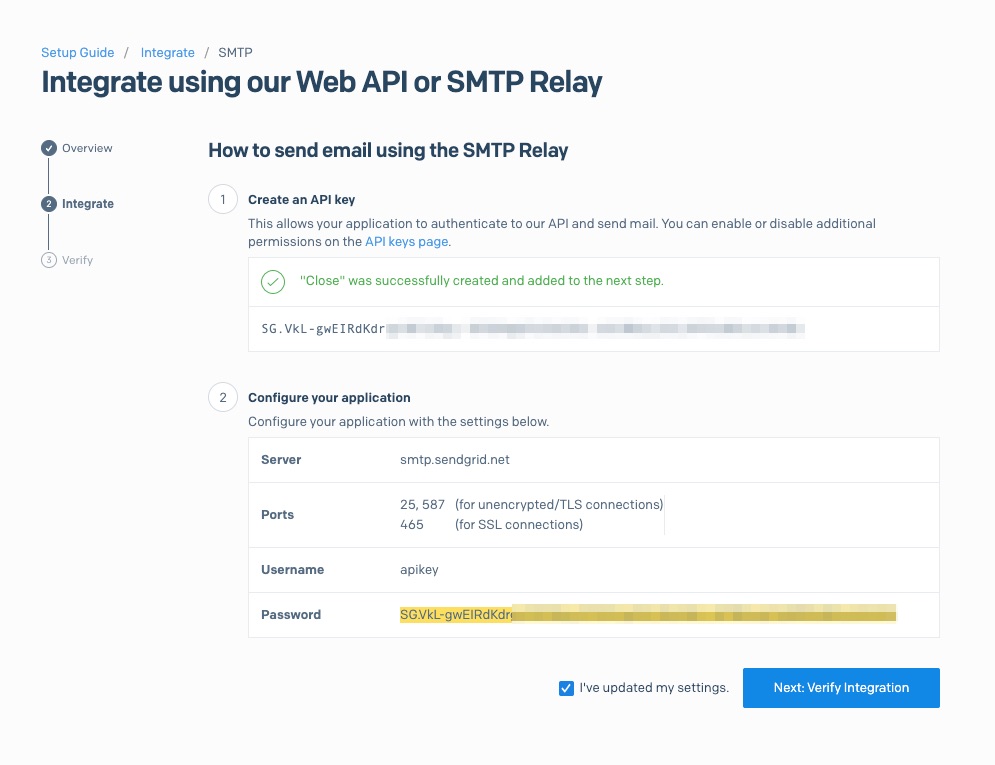
- Open the Close app and navigate to
Settings > Accounts & Apps > + Add account > Custom Email, enter yourLoginemail, pressContinue, and on the screen below, toggle offEnable email syncingoption.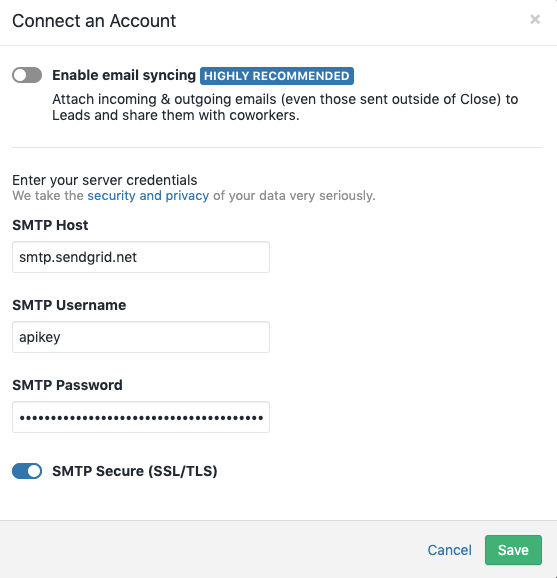 Click "Custom Configuration" and toggle off "Enable email syncing"
 - Enter the SMTP details you noted in step #4 and then click
Save:
- SMTP Host -
smtp.sendgrid.net - SMTP Username -
apikey - SMTP Password - your API key from step #3
- To verify that everything is working as expected, we will need to add SendGrid's SMTP server in Close and send an email to someone. Click on
Verify Integrationand follow the next steps fromTesting it outsection.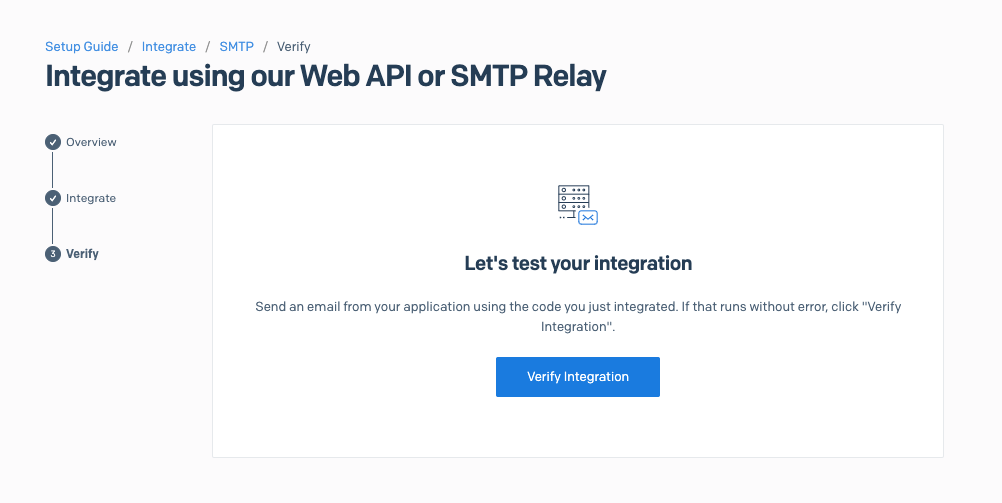
Testing it out
You should have a Custom server in your Connected Accounts:
 Custom SMTP Server in Connected Accounts
 Go to a lead and try to send a new email using your SendGrid custom server by changing the From field:
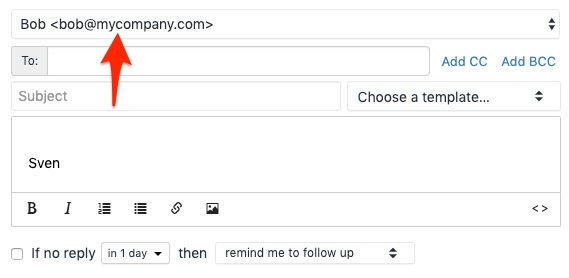 Changing From email address
If needed, you can change the name/email from which you are sending by going to Close app > Settings > Accounts & Apps > Custom server > Add a From Address...
Send an email and go back to SendGrid's verification, and you should see It worked! confirmation after a few minutes.
 Working SendGrid integration
Now you can use your SendGrid connected account while sending emails from Close.
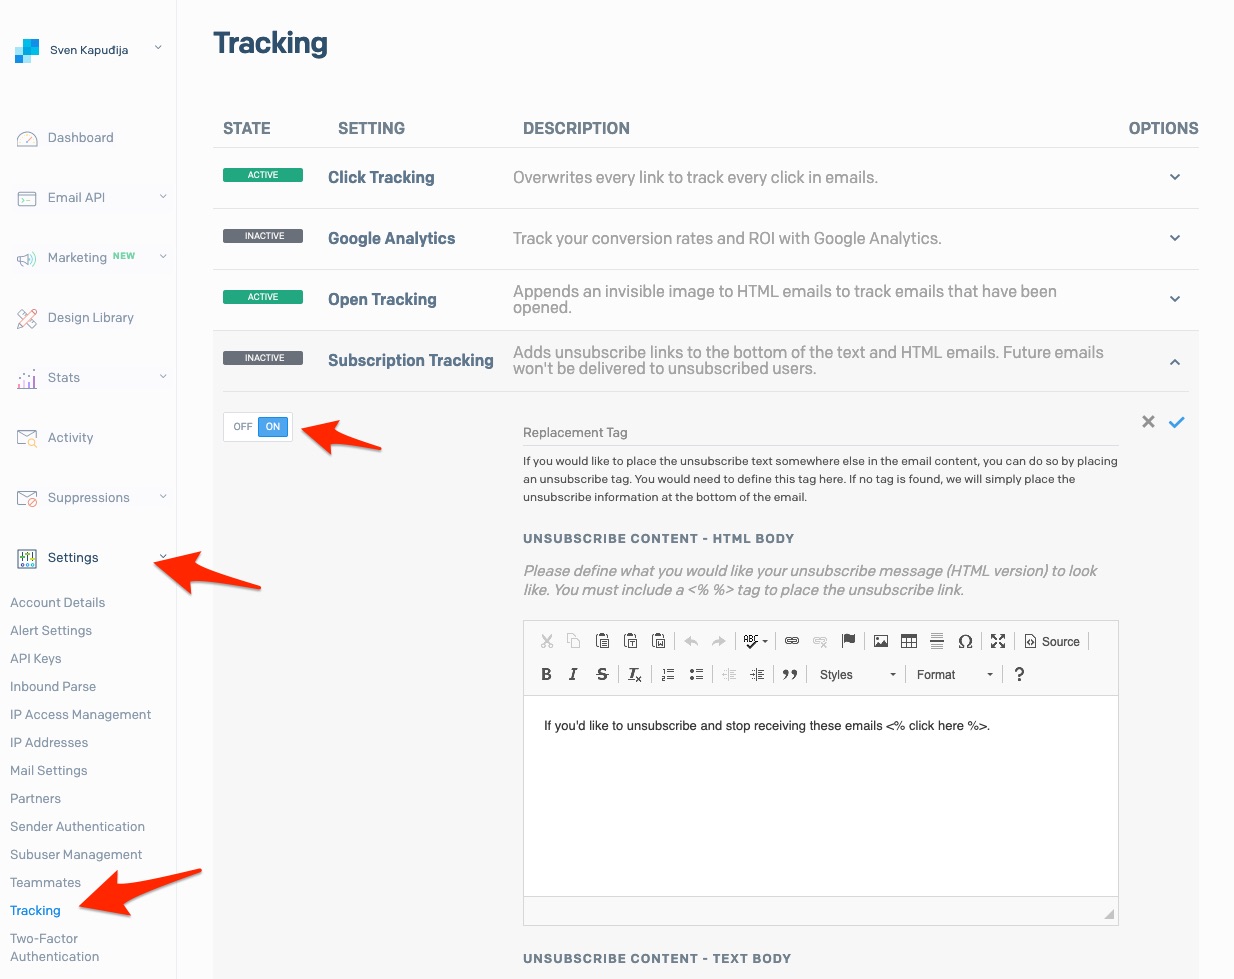
Adding Unsubscribe Links
Most countries have specific laws that specify how you may utilize bulk email. You're responsible for abiding within the applicable regulations, but an honorable (and recommended!) first step is to enable the option to unsubscribe from future emails. This will also help with keeping your email domain off of globally-monitored black lists.
To enable unsubscribe links in SendGrid, go to Settings > Tracking > Subscription Tracking and enable it. By default, SendGrid will place the link at the bottom of your emails, but you can customize it and move it wherever you like via the Replacement Tag option.
SendGrid will manage the process of not sending emails to people who have opted out. More details at SendGrid Subscription Tracking.