Assign Leads to Users via Round-Robin
Assign Leads to Users via Round-Robin
There are two ways to set up round-robin lead assignment in Close: Robin and Zapier. Robin is a dedicated app built specifically for this purpose, while Zapier offers another approach. Both options are explained here.
What is Robin?
Robin is a round-robin lead assignment tool built for Close. It automatically distributes new leads across your team in a fair, ordered rotation with no manual assignment required.
You define who gets leads (Groups) and which leads to watch (Lead Lists), and Robin takes care of the rest, checking Close every 5 minutes for new leads.
Setting up Robin
- Go to robin.closekit.com
- Click Sign in with Close
- Authorize Robin to access your Close account via OAuth
First-time users: pending approval
After signing in for the first time, your account will show a “pending approval” status. A Robin admin on your team needs to approve your account before you can access the app.
Managing multiple Close organizations
Robin supports multiple Close organizations under a single login. If you belong to more than one Close org, you can connect and manage them all from one Robin account.
Groups & Lead Lists
These are the two core building blocks of Robin.
Groups
A Group defines the rotation. It’s the list of team members who will receive leads, in order.
- Each Group has a name and an ordered list of Close users (members).
- Robin assigns leads to members one at a time, cycling through the list in order.
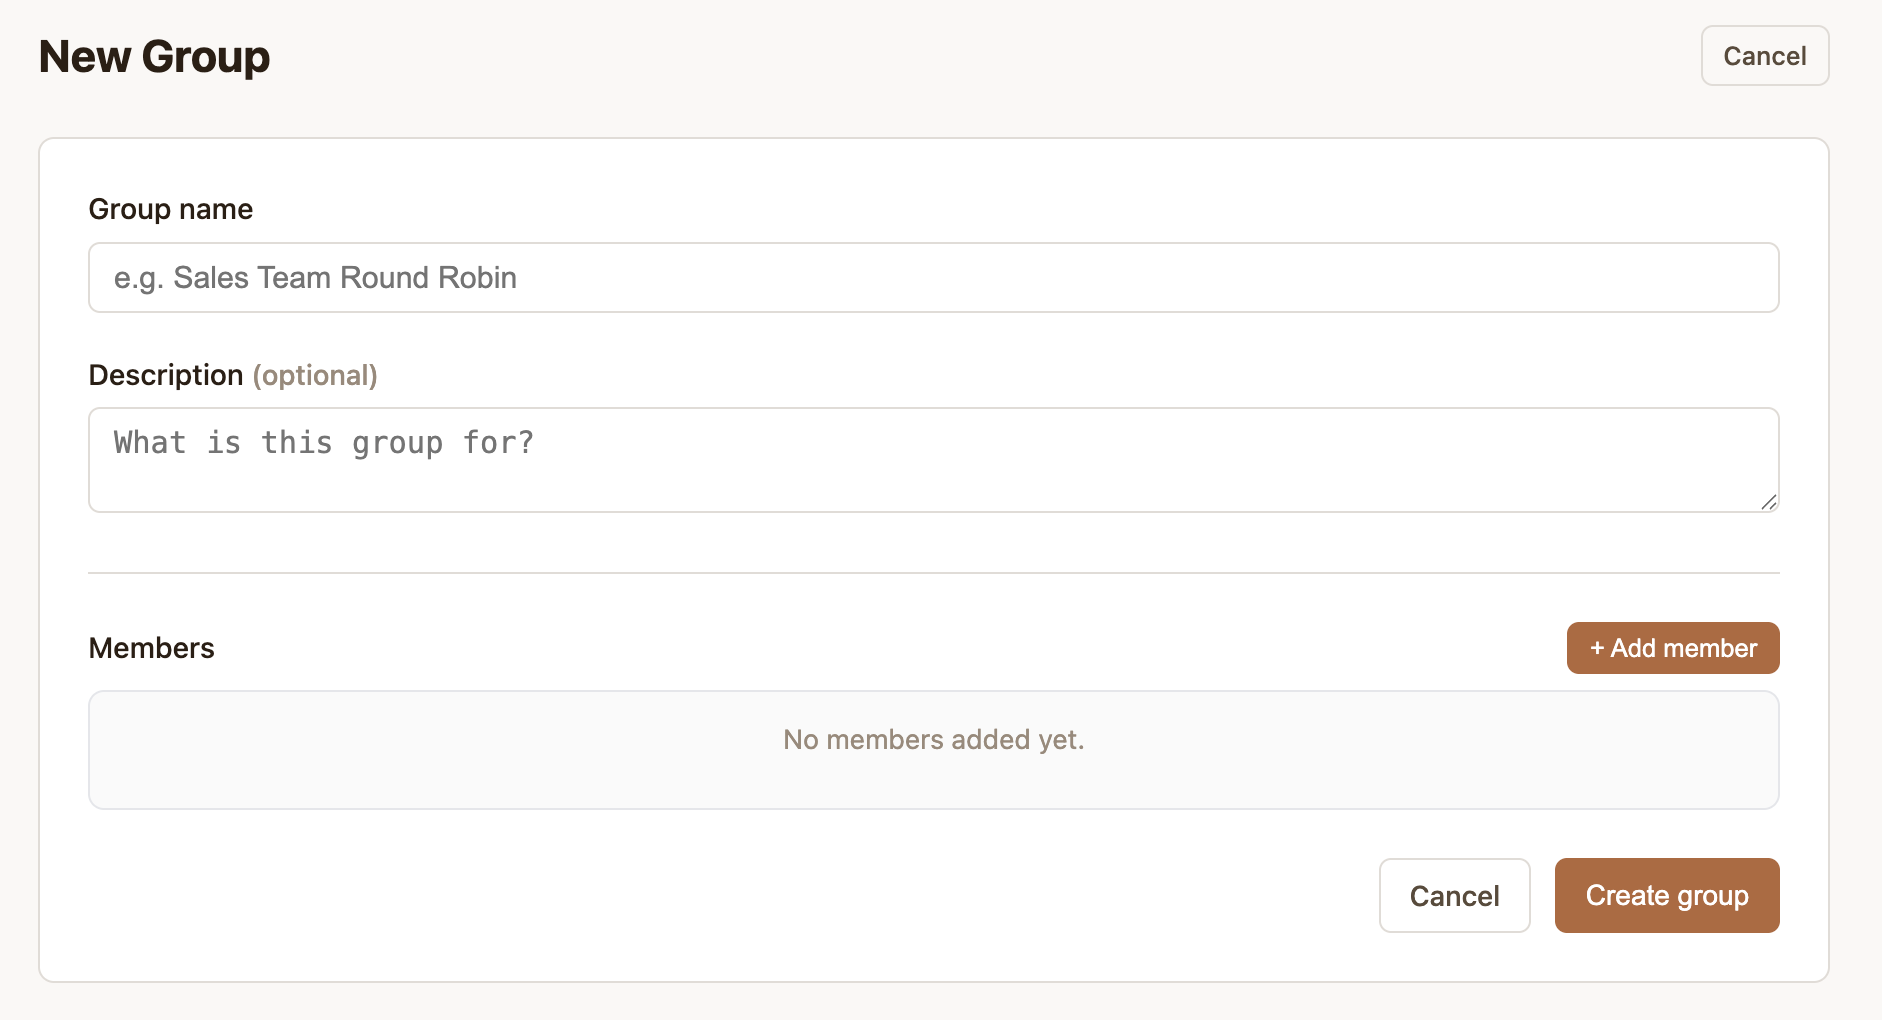
To create a Group:
- Navigate to Groups in the sidebar
- Click New Group
- Give the group a name
- Add Close users as members and set their order
Lead Lists
A Lead List defines which leads Robin should watch and assign. It’s linked to a Smart View in Close and a Group.
- Robin checks Close every 5 minutes using the filters defined in your Lead List
- Any new leads matching the filter are automatically assigned to the next member in the linked Group’s rotation
- You can have multiple Lead Lists running simultaneously for different teams or lead types
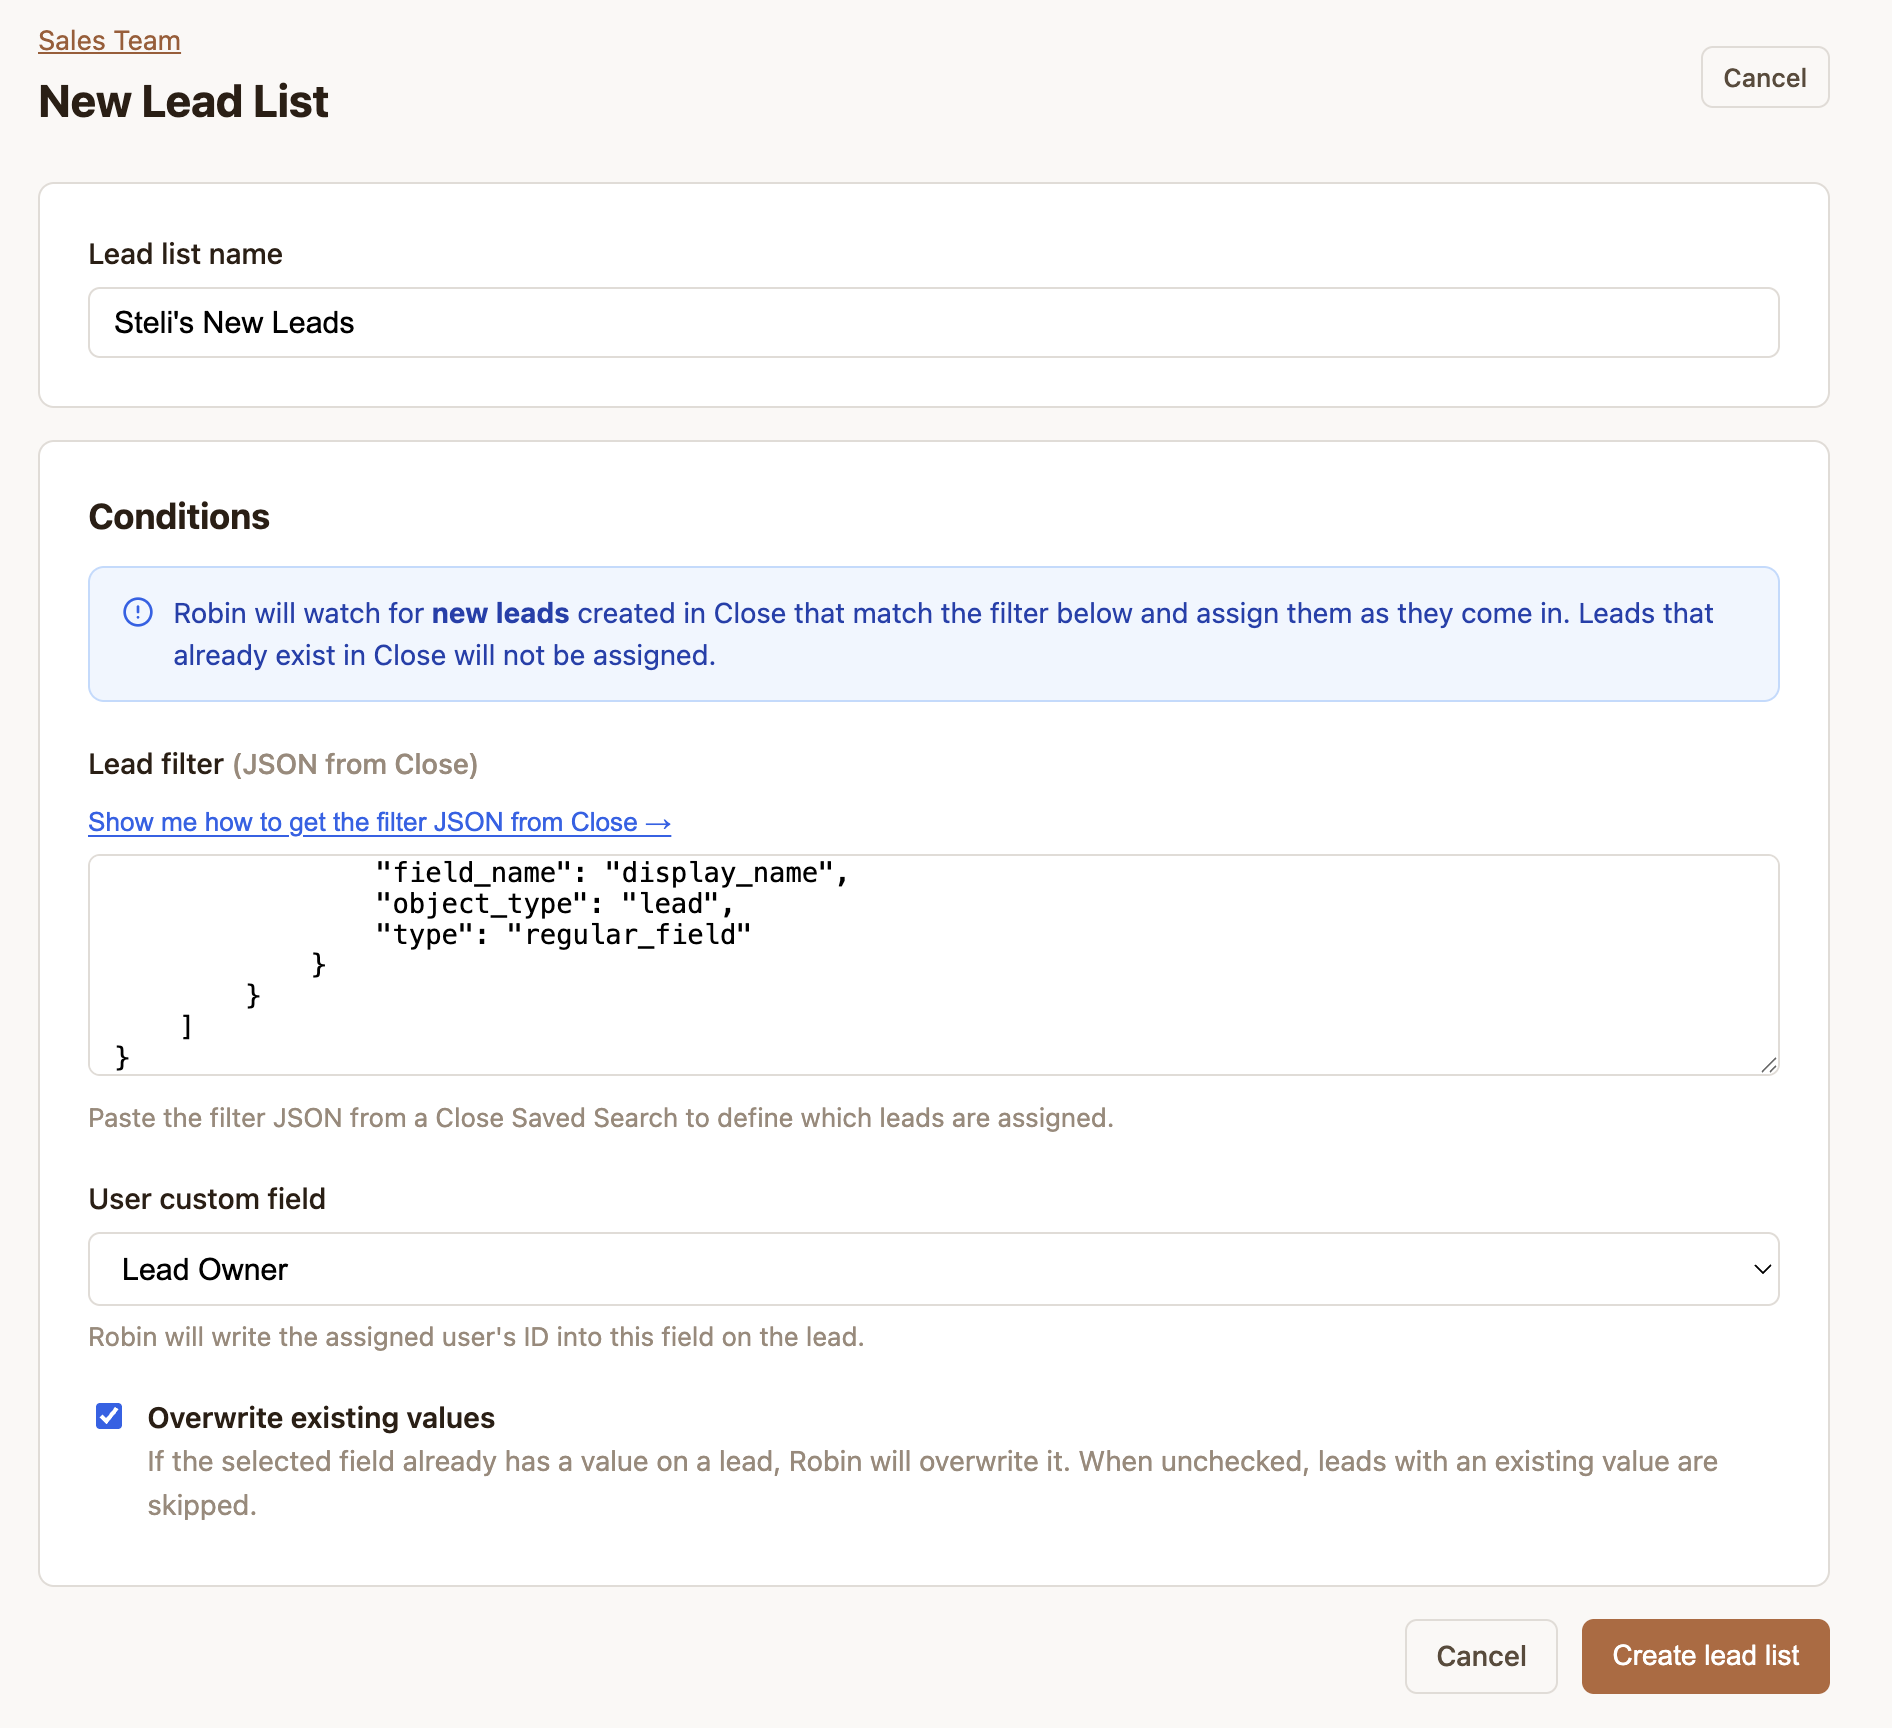
To create a Lead List:
-
Navigate to Groups in the sidebar
-
Click New Lead List and give it a name
-
Connect it to an existing Group
-
In Close, copy the filters in JSON format
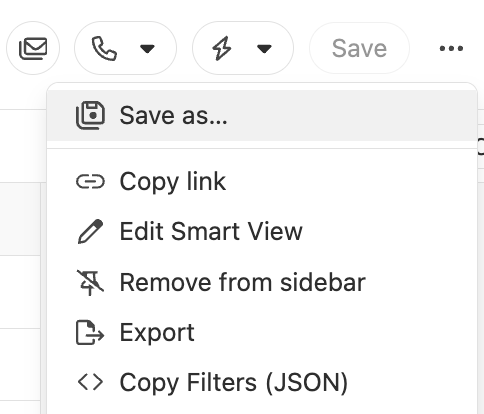
-
Paste that into the Lead filter field
-
Select the Custom Field that is used for lead assignments in Close
Activity Log & Admin Controls
Activity Log
The Activity Log gives you a full audit trail of every lead assignment Robin has made.
Each entry shows:
- The lead name and a link to the lead in Close
- Which Close user it was assigned to
- The Group and Lead List it came from
- The date and time of the assignment
You can filter the log by group, lead list, user, and date range to quickly find specific assignments or audit a rep’s activity.
Admin Controls
Robin admins have access to additional controls for managing the workspace:
The first user to sign in to a Robin instance is automatically granted admin status.
FAQ & Troubleshooting
How often does Robin check for new leads? Every 5 minutes. You can also trigger a search manually when viewing a specific Team on the Groups tab.
What if a lead matches multiple Lead Lists? Robin processes each Lead List independently. A lead could potentially be picked up by more than one Lead List if your filters overlap. Review your filter conditions to avoid duplication.
Can I see why a lead was or wasn’t assigned? The Activity Log shows all successful assignments. If a lead wasn’t assigned, it likely didn’t match your Lead List filter at the time of polling. Double-check your filter conditions in Close.
What data does Robin store? Robin stores your group and lead list configurations, OAuth tokens (encrypted at rest), and your assignment history (lead name, assigned user, timestamp). It does not use your data for advertising or analytics. See the full Privacy Policy.
How do I revoke Robin’s access to my Close account? Go to your Close account’s OAuth settings and revoke Robin’s access. This will stop Robin from polling and making assignments, but won’t delete your assignment history.
Robin is not an official Close product. Terms of Service - Privacy Policy - GitHub
Using Zapier for Round-Robin
This automation automatically assigns new leads in Close to your team members via round-robin. When a lead is created, the Zap checks your Zapier Table to see whose turn it is and assigns the lead accordingly.
This solution reduces the need for an additional app like Google Sheets, as we use Zapier Tables here - it’s cleaner than spreadsheets, built into Zapier, and easier for your team to manage.
Before you start, you will need:
- A Close account.
- A Lead Owner field in Close (either the default Lead Owner field, or a Lead custom field your team uses for ownership).
- Zapier on a Professional plan or higher. (This Zap uses Code by Zapier.)
Create Your Zapier Table
Go to Tables in your Zapier workspace and click Create new table. Once named, add these 4 columns:
- User Name (Text)
- Email (Text)
- Active (Checkbox or Text)
- Current Index (Number)
Add your team data:
Notes:
- List users in the order they should rotate
- Only the first active user gets “0” in Current Index (this is the starting position)
- Leave Current Index blank for all other users
- Check the Active box to include users in the rotation
Create (or edit) your Zap
This setup uses 5 steps:
- Trigger: New Lead (Close)
- Find active users (Zapier Tables)
- Calculate the next assignee (Code by Zapier)
- Update Current Index (Zapier Tables)
- Assign the lead (Close)
Step 1 in Zapier (Trigger): New Lead (Close)
- Choose Close as the trigger app.
- Select the trigger event New Lead.
- Connect your Close account and select the correct organization.
- Test the trigger to pull in a sample lead.
Step 2 in Zapier (Action): Find Active Users (Zapier Tables)
Table: Select your table from Step 1
Search method: Active = TRUE
Click test to make sure the table information is retried. You should see active team members and their current index position
-
Choose Google Sheets as the action app.
-
Select Lookup Spreadsheet Row.
-
Configure the step:
- Spreadsheet: your user list sheet
- Worksheet:
Sheet1(or your sheet name) - Lookup column:
Active - Lookup value:
TRUE - Row count:
10(or the number of teammates you expect)
-
Test the step.
What this does: pulls the list of active users and their current index values.
Step 3 in Zapier (Action): Calculate the next user (Code by Zapier)
- Choose Code by Zapier.
- Select Run JavaScript.
- Paste the provided code (or keep the pre-filled code if you are using an existing Zap).
- Test the step.
Your code step should output values like:
assigned_user_name(who this lead should go to)next_index(the next index to store)next_user_row_number(which sheet row to update)
Step 4 in Zapier (Action): Update the current index (Zapier Tables)
Table: Select the table you created
Record ID: Map to the next user’s record ID from Step 2. This identifies which user row to update
Current Index: Set to {{\_GEN\_1772686245597\_\_next\_index}}
This step moves the Current Index to the next user’s row, so the following lead goes to the next person
Step 5 in Zapier (Action): Assign the lead in Close
-
Choose Close.
-
Select Update Lead.
-
Configure the step:
- Lead ID: use the Lead ID from the trigger step (New Lead)
- Lead Owner (or your ownership field): set this to
assigned_user_name(from the Code step)
-
Test the step.
Test the full workflow
-
Turn on testing and run through the steps in order.
-
Create a test lead in Close.
-
Confirm:
- The lead is assigned to the expected first active user.
- The table updated so the next user is queued up.
-
Create a second test lead and confirm it assigns to the next user.
When everything looks good:
- Click Publish.
- Turn the Zap On.
Managing your team
Add a new teammate
- Open your Zapier Table
- Add a new row with their info
- Set Active = TRUE
- Leave Current Index blank
- They’re automatically added to the rotation
Pause someone temporarily
Find their row in the table, and then change Active to FALSE.
Restart the rotation
Clear all values in Current Index, and then put 0 in Current Index for the first active user. The Zap will start with that user.
FAQ & Troubleshooting
Why are my leads not being assigned?
- Confirm your ownership field exists in Close.
- Confirm the names in User Name match Close exactly.
- Test each Zap step to see where it stops.
The wrong person is being assigned.
Confirm only one active user has 0 in Current Index, and confirm the Active column is exactly TRUE (all caps).
Why is the same person getting assigned?
Step 4 may not be running. Test this step separately to confirm it updates the table. Check that Current Index is actually changing in your table after each lead.