This Zap will pull a lead's answers from your webform into a Custom Activity in Close, allowing you to:
- Filter your leads using common answers
- Review answers directly on the lead's page
What you'll need
To set up this Zap, you'll need the following:
- A Zapier account that allows for multi-step Zaps;
- A webform tool that integrates with Zapier (see next step for more details);
- A Close account of the Basic, Professional, or Business plan (Starter plan won't work as it doesn't support Custom Activities - see more on plan limits);
- A Close API key - available at
Settings > API Keys.
Webform tools integrating with Zapier
Please note that because each software is in charge of updating its Zapier integration, we cannot guarantee that the following tools are up to date and will provide your desired outcome.
- Typeform - used as sample tool for guide below.
- Google Form - see a dedicated guide to standardize your call questions & answers here.
- Calendly - see dedicated guide here.
- Unbounce - see dedicated guide here.
- Jotform.
- Wufoo.
If you use another tool that integrates with Zapier, feel free to try it out!
Setting up your Custom Activity
Before we start working on our automation that will pull webform answers into Close, we need to create a Close Custom Activity that will be used to store all those answers.
Head over to the Custom Activities page by going to your Settings > Custom Activities. Click on + New Activity Type to create a new Custom Activity. Give it a name and save it to start adding fields.
Each field represents one question in your webform. In our example below, our Typeform webform has four questions, so we'll create four fields:
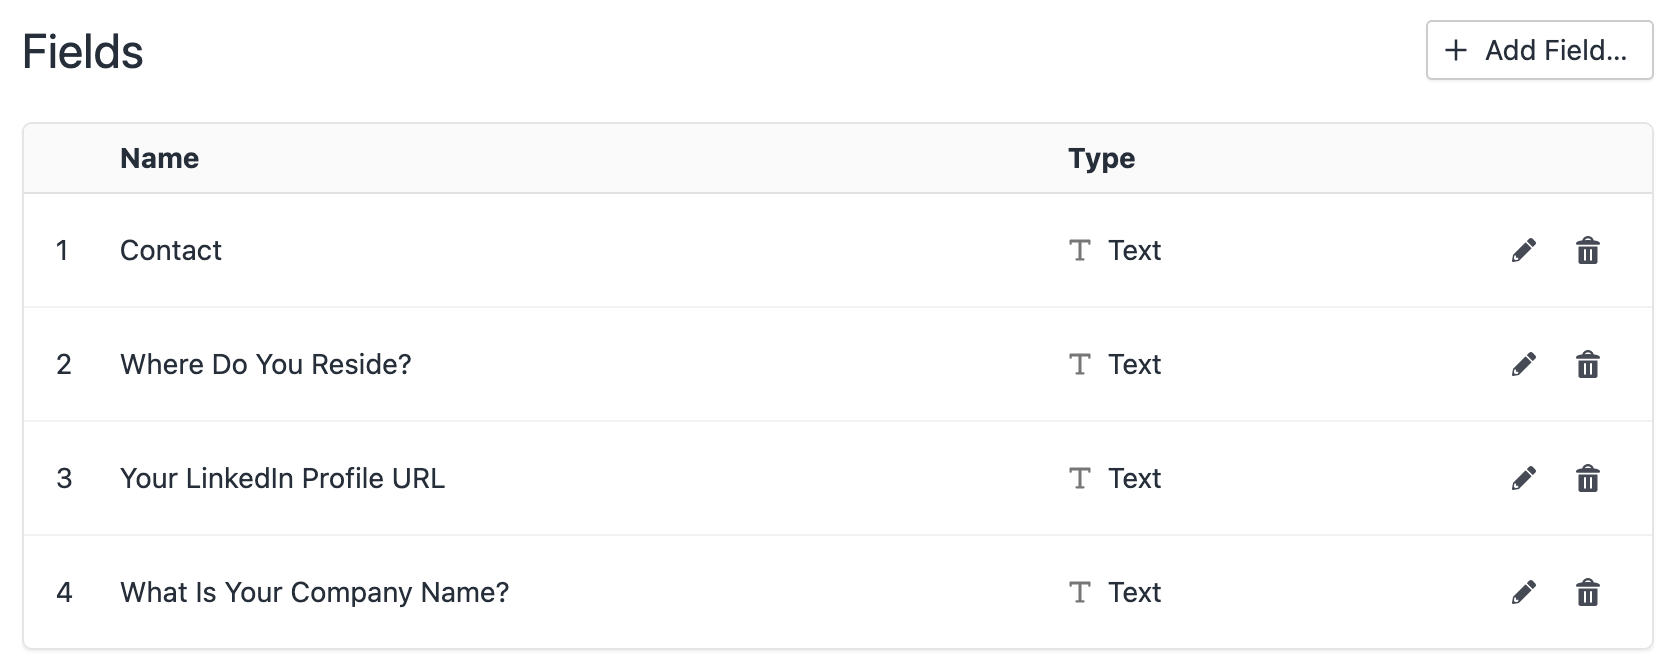 Custom Activity fields should match your webform fields
To learn more about our Custom Activities and all the options you can choose from - head over to our guide on Custom Activities.
Setting up your Zap
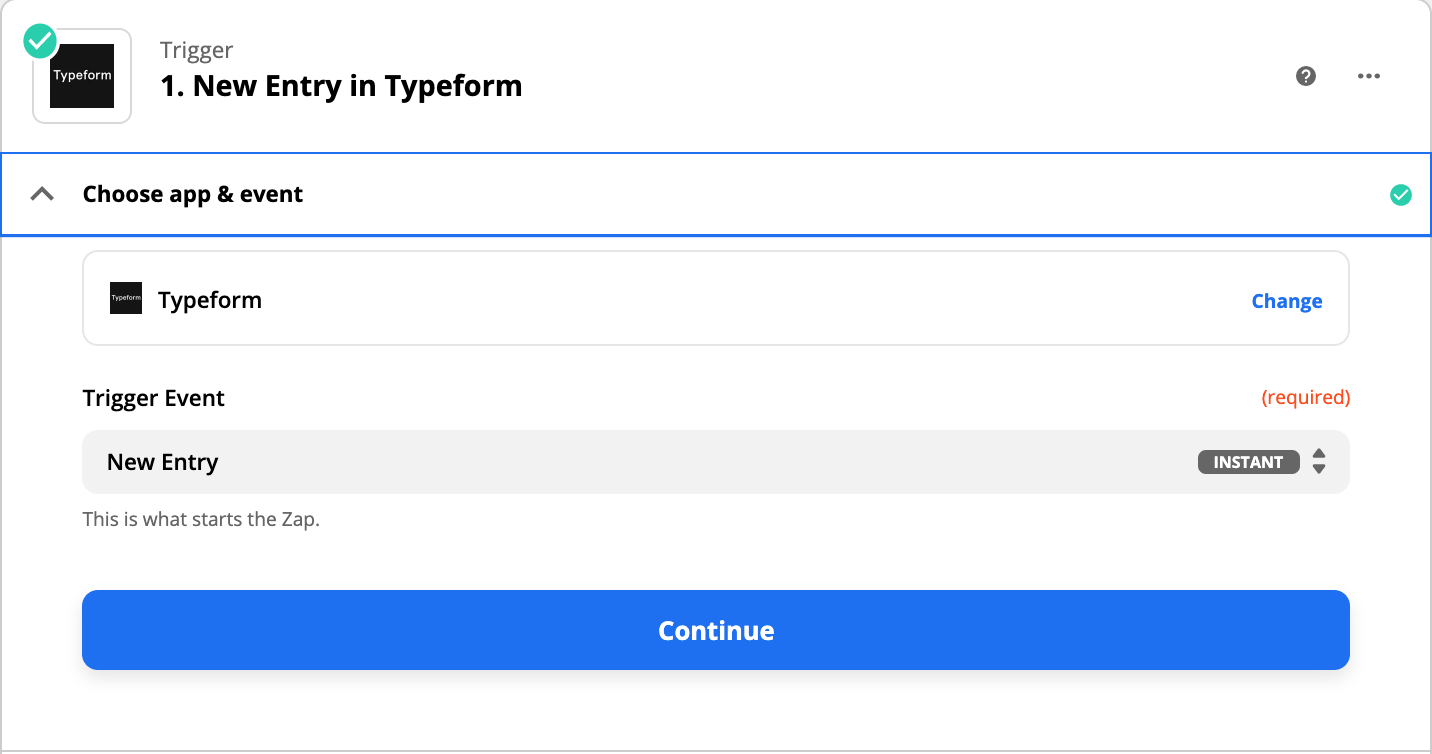
Step 1 - Pull webform data.
In the Choose app and event tab, pick the webform of your choice. In the below example, we have Typeform. The trigger event will be a New Entry, New Form Submission, or the equivalent.
In the Choose account tab, you'll need to connect Zapier to the webform tool. When you start the connection, Zapier might ask for the API Key of the webform of your choice. This can usually be found in your Settings or in an Integrations page. Reach out to their Support team if you don't find it. Alternatively, Zapier might simply need you to sign in to the webform tool using your credentials.
In the Set up trigger tab, choose the form you want to pull into Close.
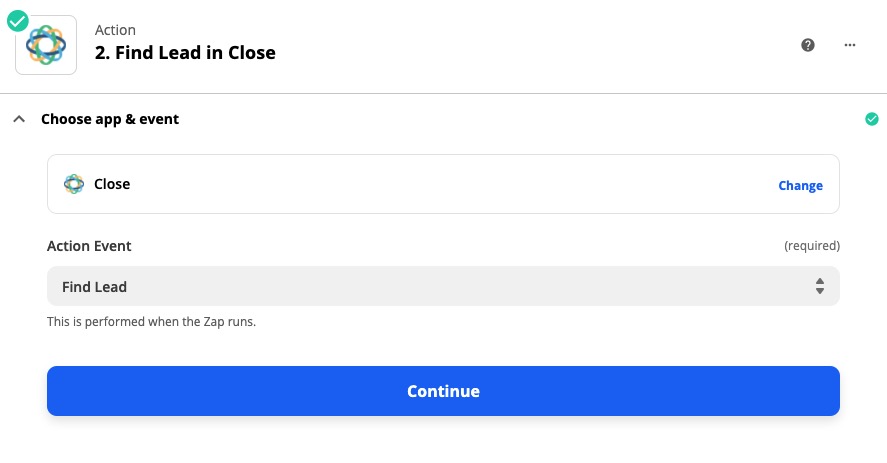
Step 2 - Find (or create) Lead in Close
In the Choose app and event tab of the second Zapier step, pull up Close. The Action Event will be to Find Lead in Close. The reason why we're using Find Lead in Close here and not Create Lead in Close is because we recommend looking for the lead first to avoid duplicates.
In the Choose account tab, connect Close to Zapier. If the connection doesn't already exist, you will need your Close API Key, which you can create, as explained here.
The Set up action tab will search your leads in Close using a unique identifier from the first Zapier step to check if the lead already exists. We recommend searching by email address or phone number depending on your form's questions.
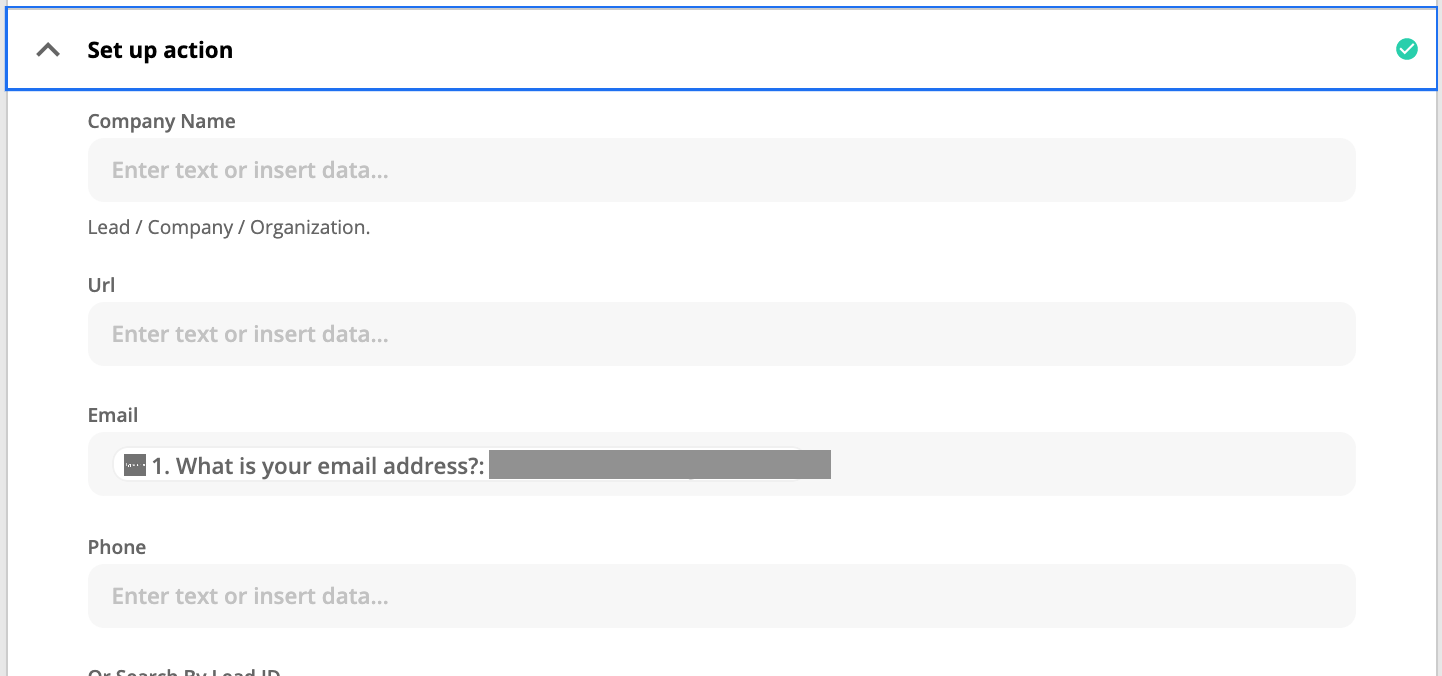 Find Lead in Close
At the bottom of the tab, tick the Create Close Lead if it doesn’t exist yet? box and pull data from the first step into the appropriate fields. For example, pick the lead status you want the new lead to show up in, the contact name, email address, etc. You'll also note that the Zap step name will change from Find Lead to Find or Create Lead.
 Creating Close lead if it doesn't exist yet
Step 3 - Create Custom Activity in Close
In the Choose app and event tab, pick Close, and the Action Event will be to Create Custom Activity in Close.
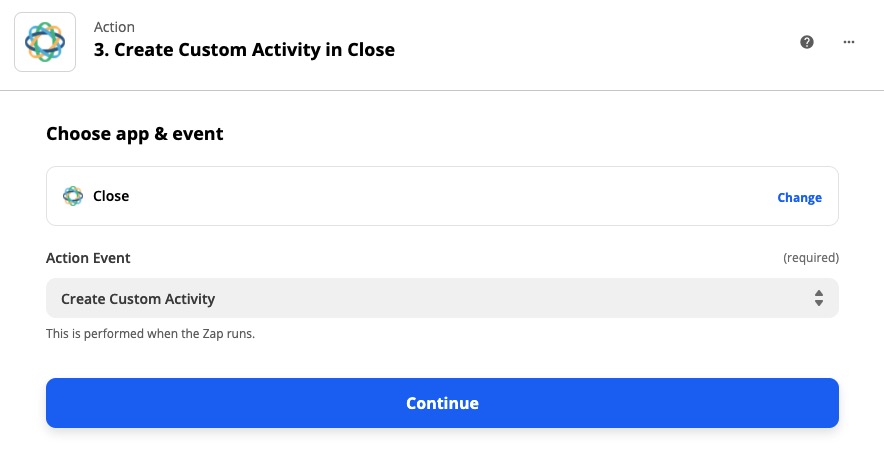 Create Custom Activity in Close
In the Choose account tab, pick the same account you connected to in the previous step.
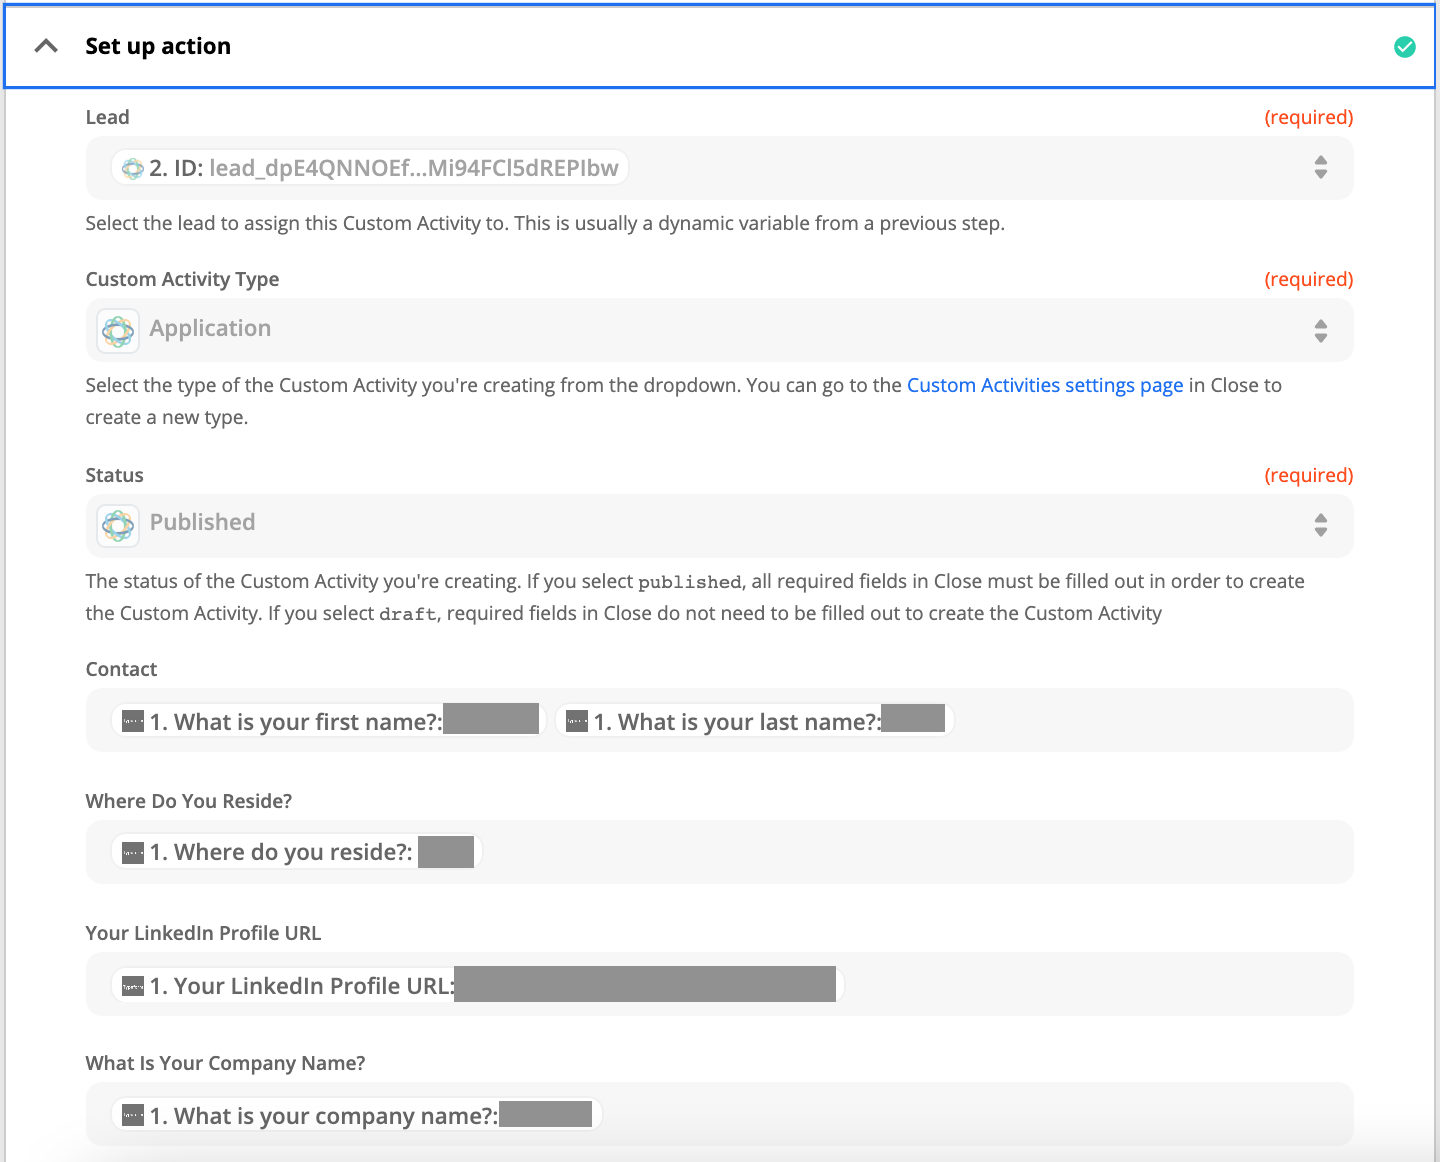
In the Set up action tab, fill out the lead ID by pulling it from the second Zapier step, choose the Custom Activity type that you created in Close, and pick the activity status Published.
 Setting Lead ID from Step 2
Finally, pull the answers from your first Zapier step (the webform) into each Custom Activity field.
Step 4 - Test and Activate
Test and review each Zapier step before you turn it on.
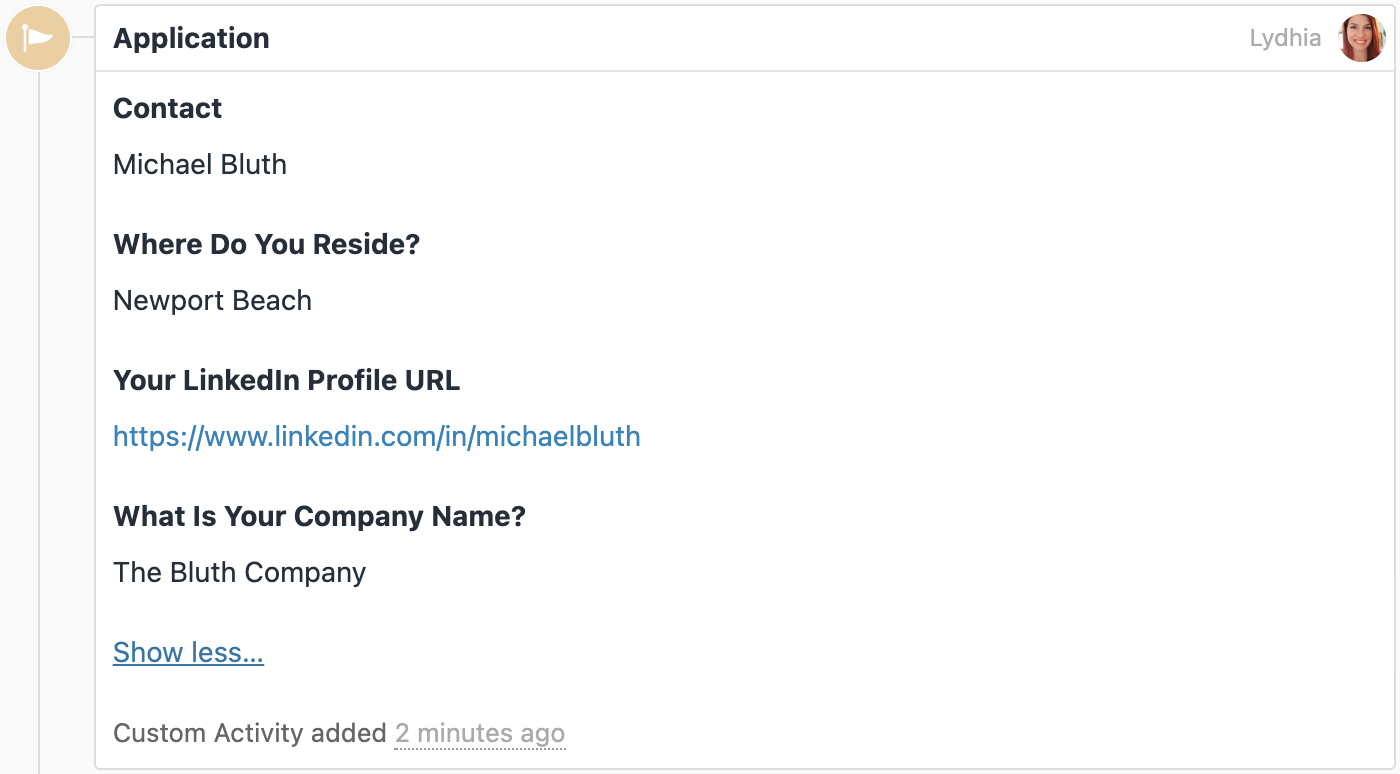 Newly created Custom Activity in Close
You can create extra Zapier steps. For example, you could create a task for your rep to prioritize a fresh lead, send an automated email, send a Slack notification, etc.