Is Google Forms part of your sales workflow? You can log responses filled in from your forms in Close as a note, custom field, custom activity etc.
In this tutorial, we will
- Create a Google Form where answers will be added to a Google Spreadsheet
- create an integration link for easy form filling from a lead page
- set up Zapier integration to automatically add our answers in a form of a note
What you’ll need
- A Google account to access Google Forms
- A Close account and your API key
- A Zapier account (a free account is enough as we have a 2-step Zap)
How the integration works
Whenever a lead fills in a Google Form, the responses are sent to a Google Sheet which we will in turn sync in with Close using Zapier.
Google Forms
Create a Google Form
First, we need to create a Google Form with questions you'd like to use. Go to Google Form and create a new form alongside all of your questions. When created, create a Short answer type question for a Lead ID (pre-filled) as this will be pre-filled automatically by Close to match answers with your leads using their lead identifiers.
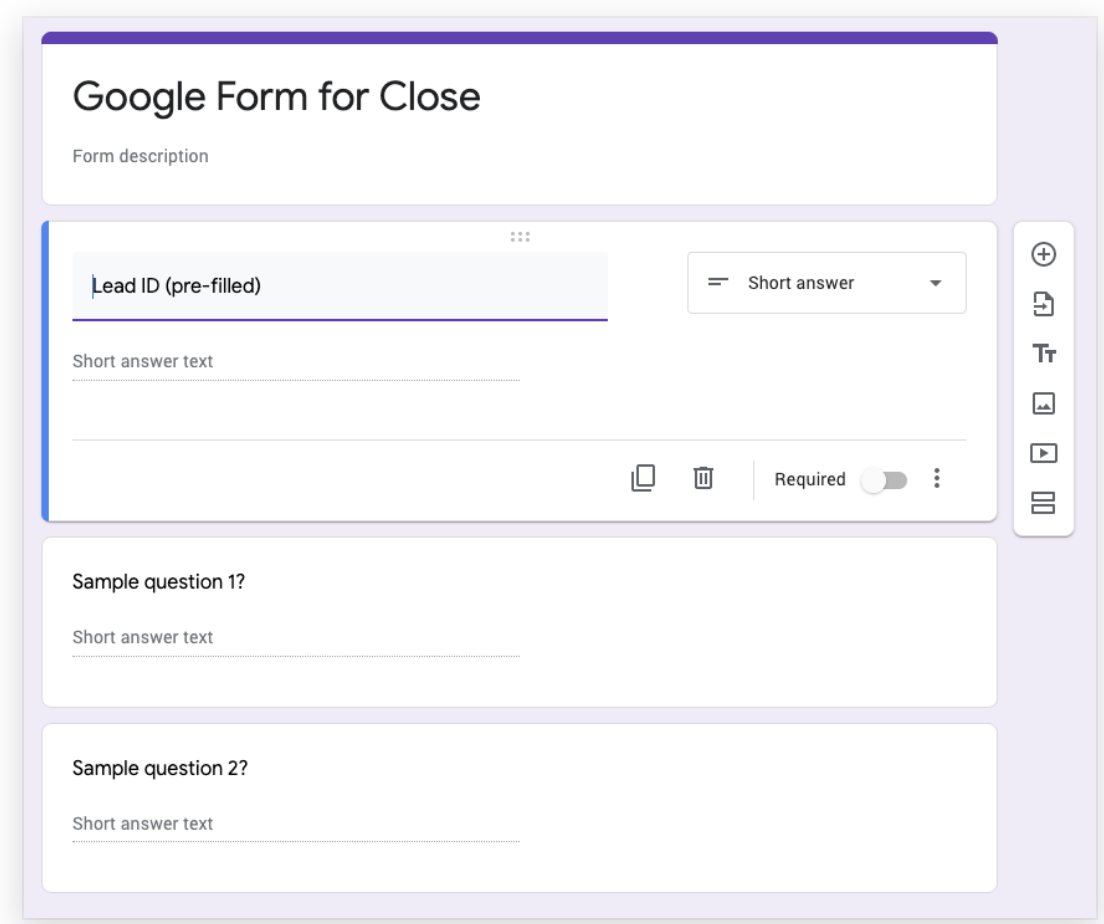
After you are satisfied with your Google Form, go to the upper-right ... (three dots) and click Get prefilled link in the dropdown menu.
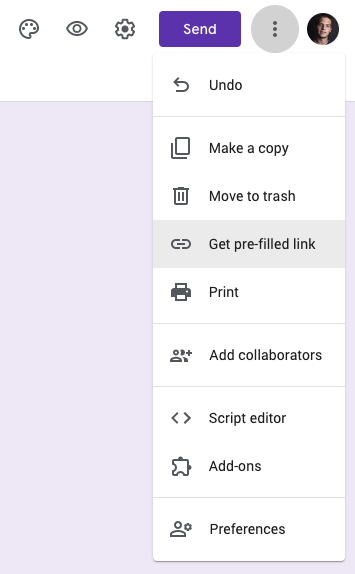 Get pre-filled link button
 Fill in a Lead ID question with lead_ and a string of random numbers (e.g.lead_12345), scroll to the bottom and click, Get Link.
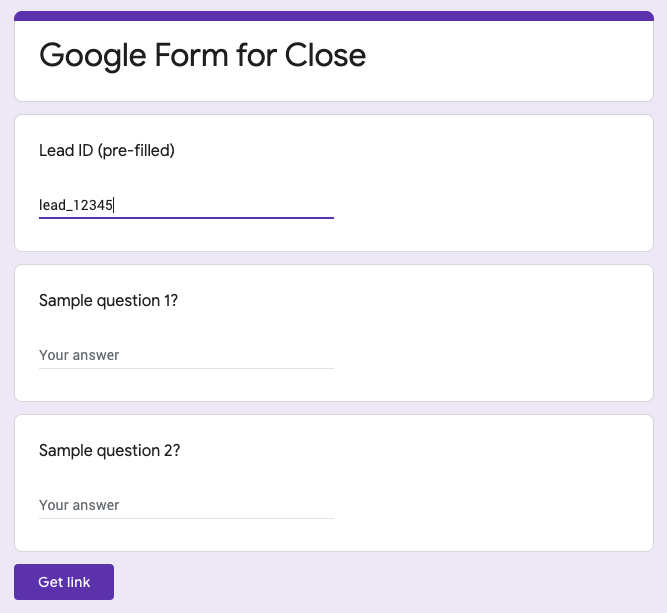 Pre-fill Lead ID question and Get Link
An option will pop-up to copy the link to your clipboard. Select “Copy Link”.
 Copy link with pre-filled responses
The link will look something like:
https://docs.google.com/forms/d/e/1FAIpQLSfF1e7y1jjtP1Xxu7oBibEezlJQjkqoUGdzlQk2uYSb3Q/viewform?usp=pp_url&entry.1216772858=lead_12345
Add integration link in Close
With that link copied, log in into your Close account and go to Settings > Customizations > Integration Links and select Add New Integration Link
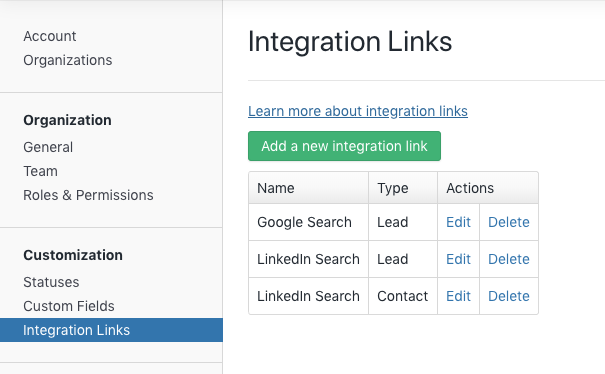 Add a new integration link
 Name your Integration Link and select Lead under the Type field. Paste your Google Form URL into the URL field
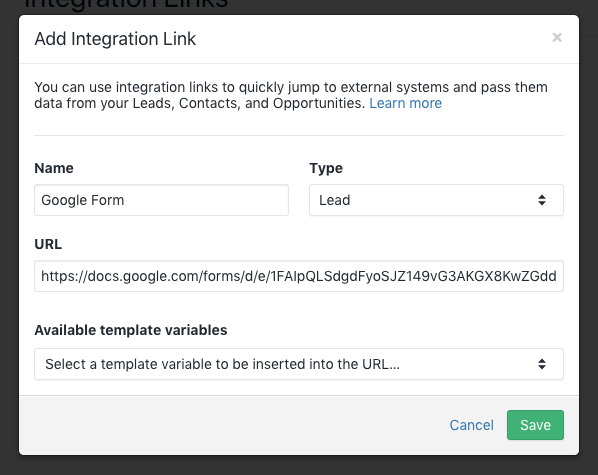 Google Form Integration Link
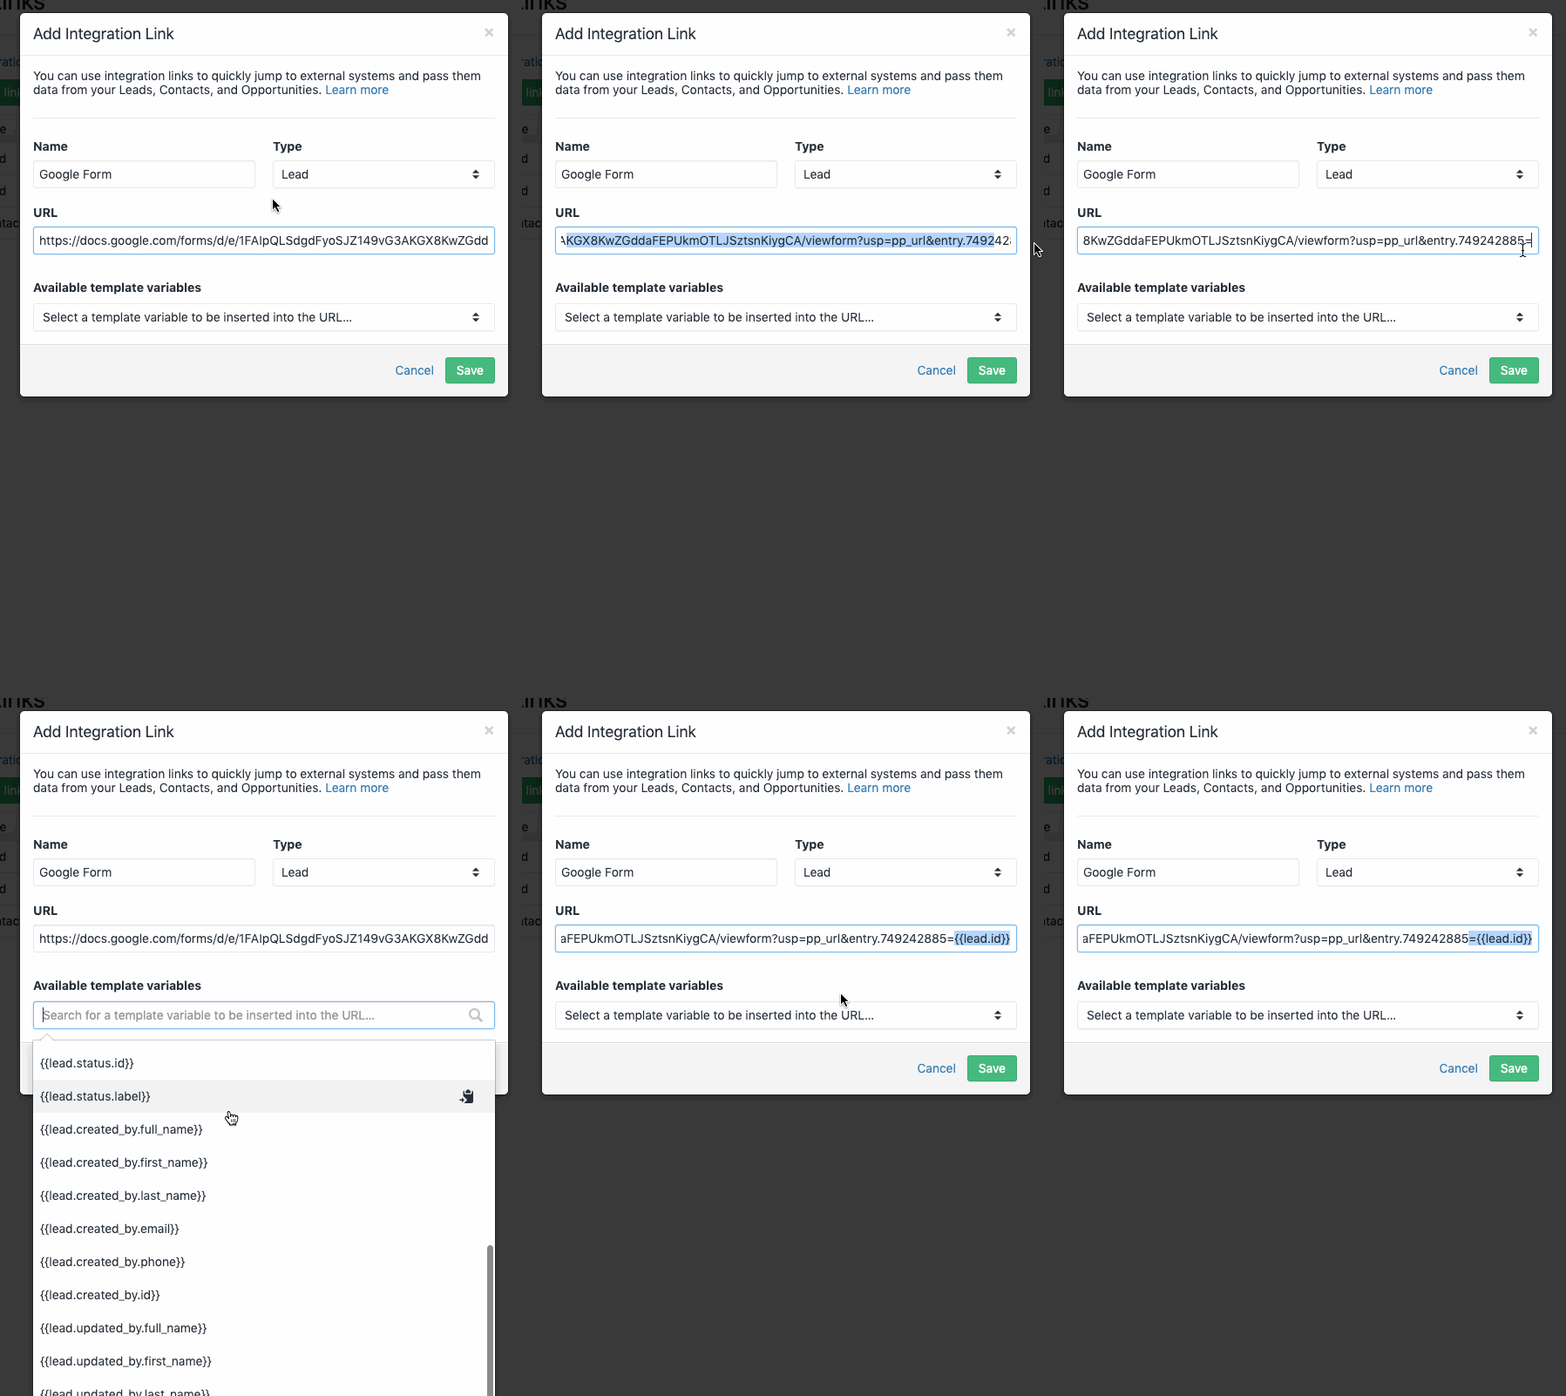
The URL that you copied from your Google Form will contain the placeholder Lead ID with the random string of numbers you entered in your Google Form to get the prefilled link (e.g. lead_12345). You will need to edit the URL within the Integration Link screen to include a “template variable”. In order to do so, scroll to the end of your URL in the URL field and delete the lead_12345 and replace with {{lead.id}} like so:
The new link will look like this:
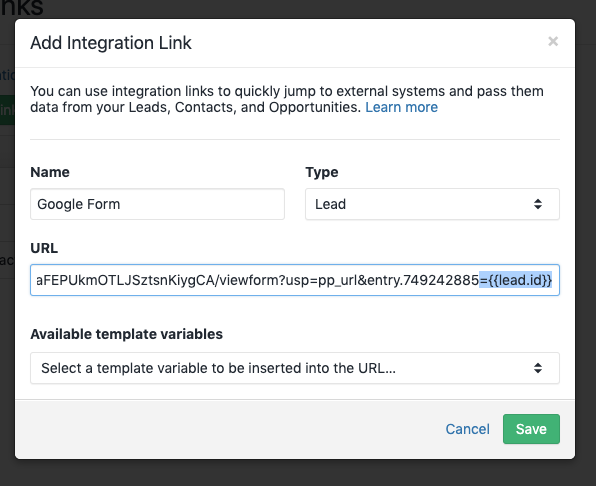 Google Form integration link URL
Click Save to add the integration link.
Go to any lead and click on Google Form link in the lower-left.
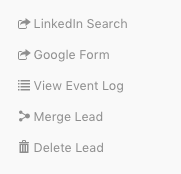
Your Google Form will open with the Lead ID prefilled. Submit a test form with sample answers to all of your questions.
Store answers in Google Sheet
Once a sample form is submitted, go back to your Google Form setup page and click the Google Sheets icon in the right corner of your Google Form Responses:
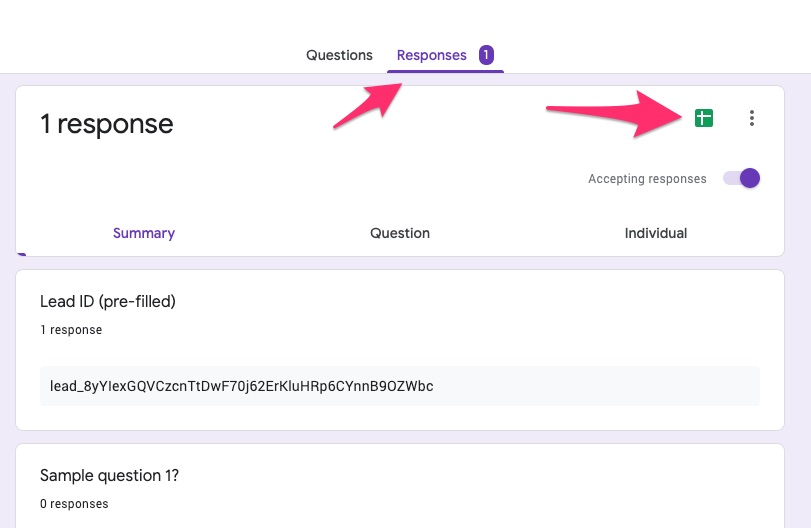 Creating a Google Spreadsheet
Select an option to create a new Google Spreadsheet to store your responses
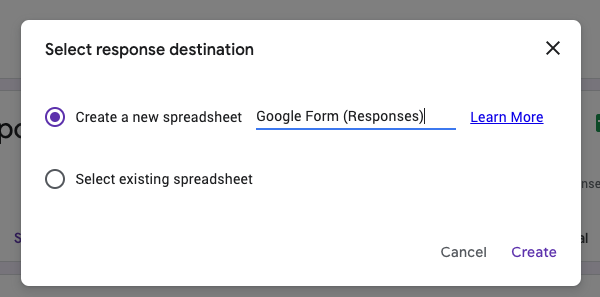 Creating a spreadsheet to store form responses
Once the Google Sheet is created to store your Google Form answers, you are ready to set up your Zap in Zapier.
 Sample responses spreadsheet
Zapier setup
Zapier will allow us to create a note on a lead as soon as you submit your answer to a Google Form.
Start by using the template we provided by clicking on the "Use this Zap" button. By using the template the only thing you'll already have steps and some variable predefined so there is fewer things you need to do yourself.
Step 1 - New Spreadsheet Row in Google Sheets
In the first section authorize Google Sheets under the "Choose Account" section.
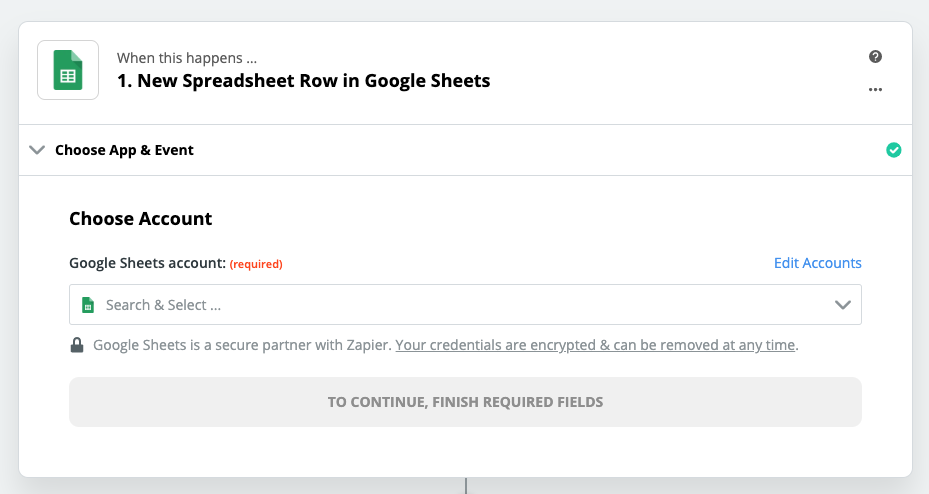 Authorize Google Spreadsheets in Zapier
Click Continue and select your Google Form responses spreadsheet and worksheet.
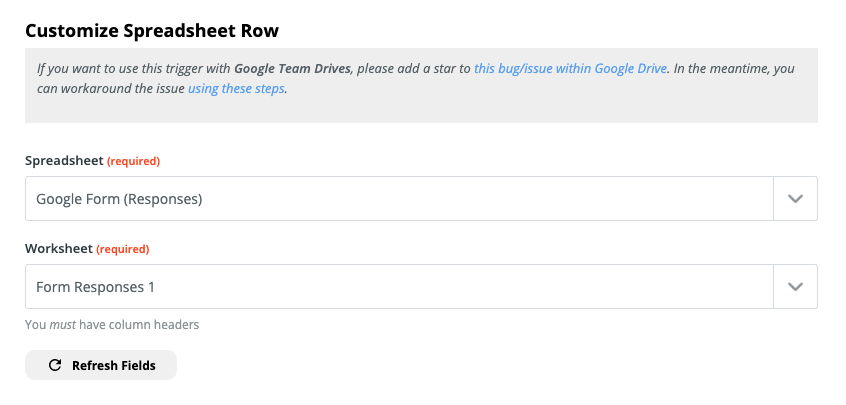 Select Spreadsheet and Worksheet
Click Continue, and again Test & Continue.
Step 2 - Create Note in Close
In the first Choose App & Event section just click Continue
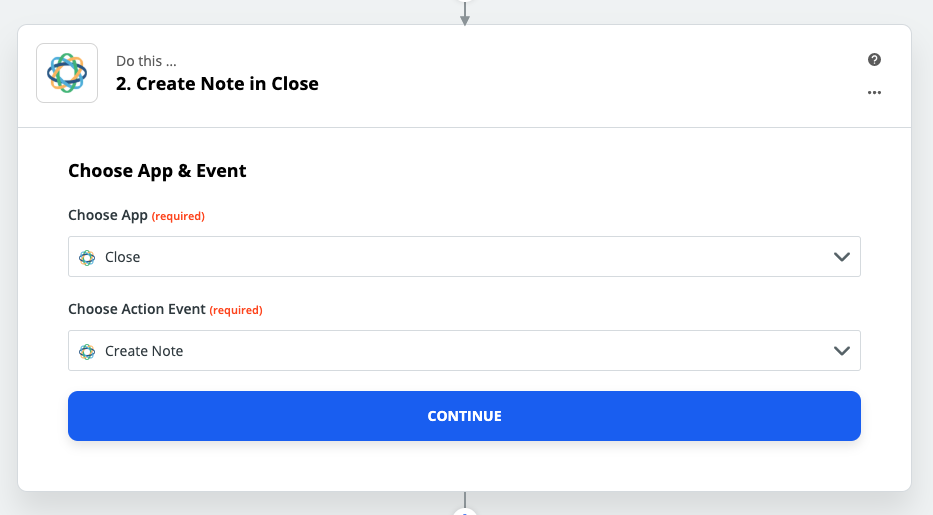 Create Note in Close step
and then authorize Close by using the API key provided in the Settings > API Keys section.
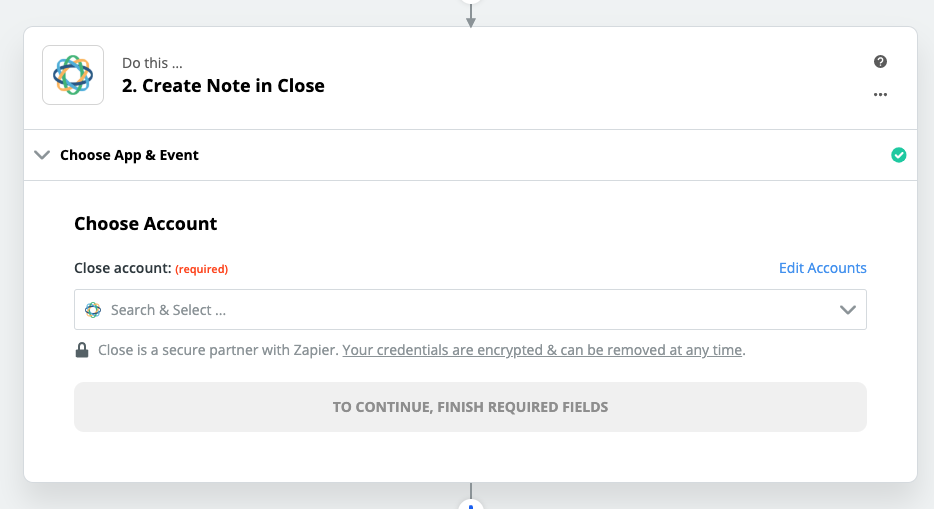 Authorize Close
Click Continue and in Customize Note section we need to tell Zapier which column to use to match with our Close leads and format of the note.
For Lead field use the Use a Custom Field and select the Lead ID column we've set up earlier.
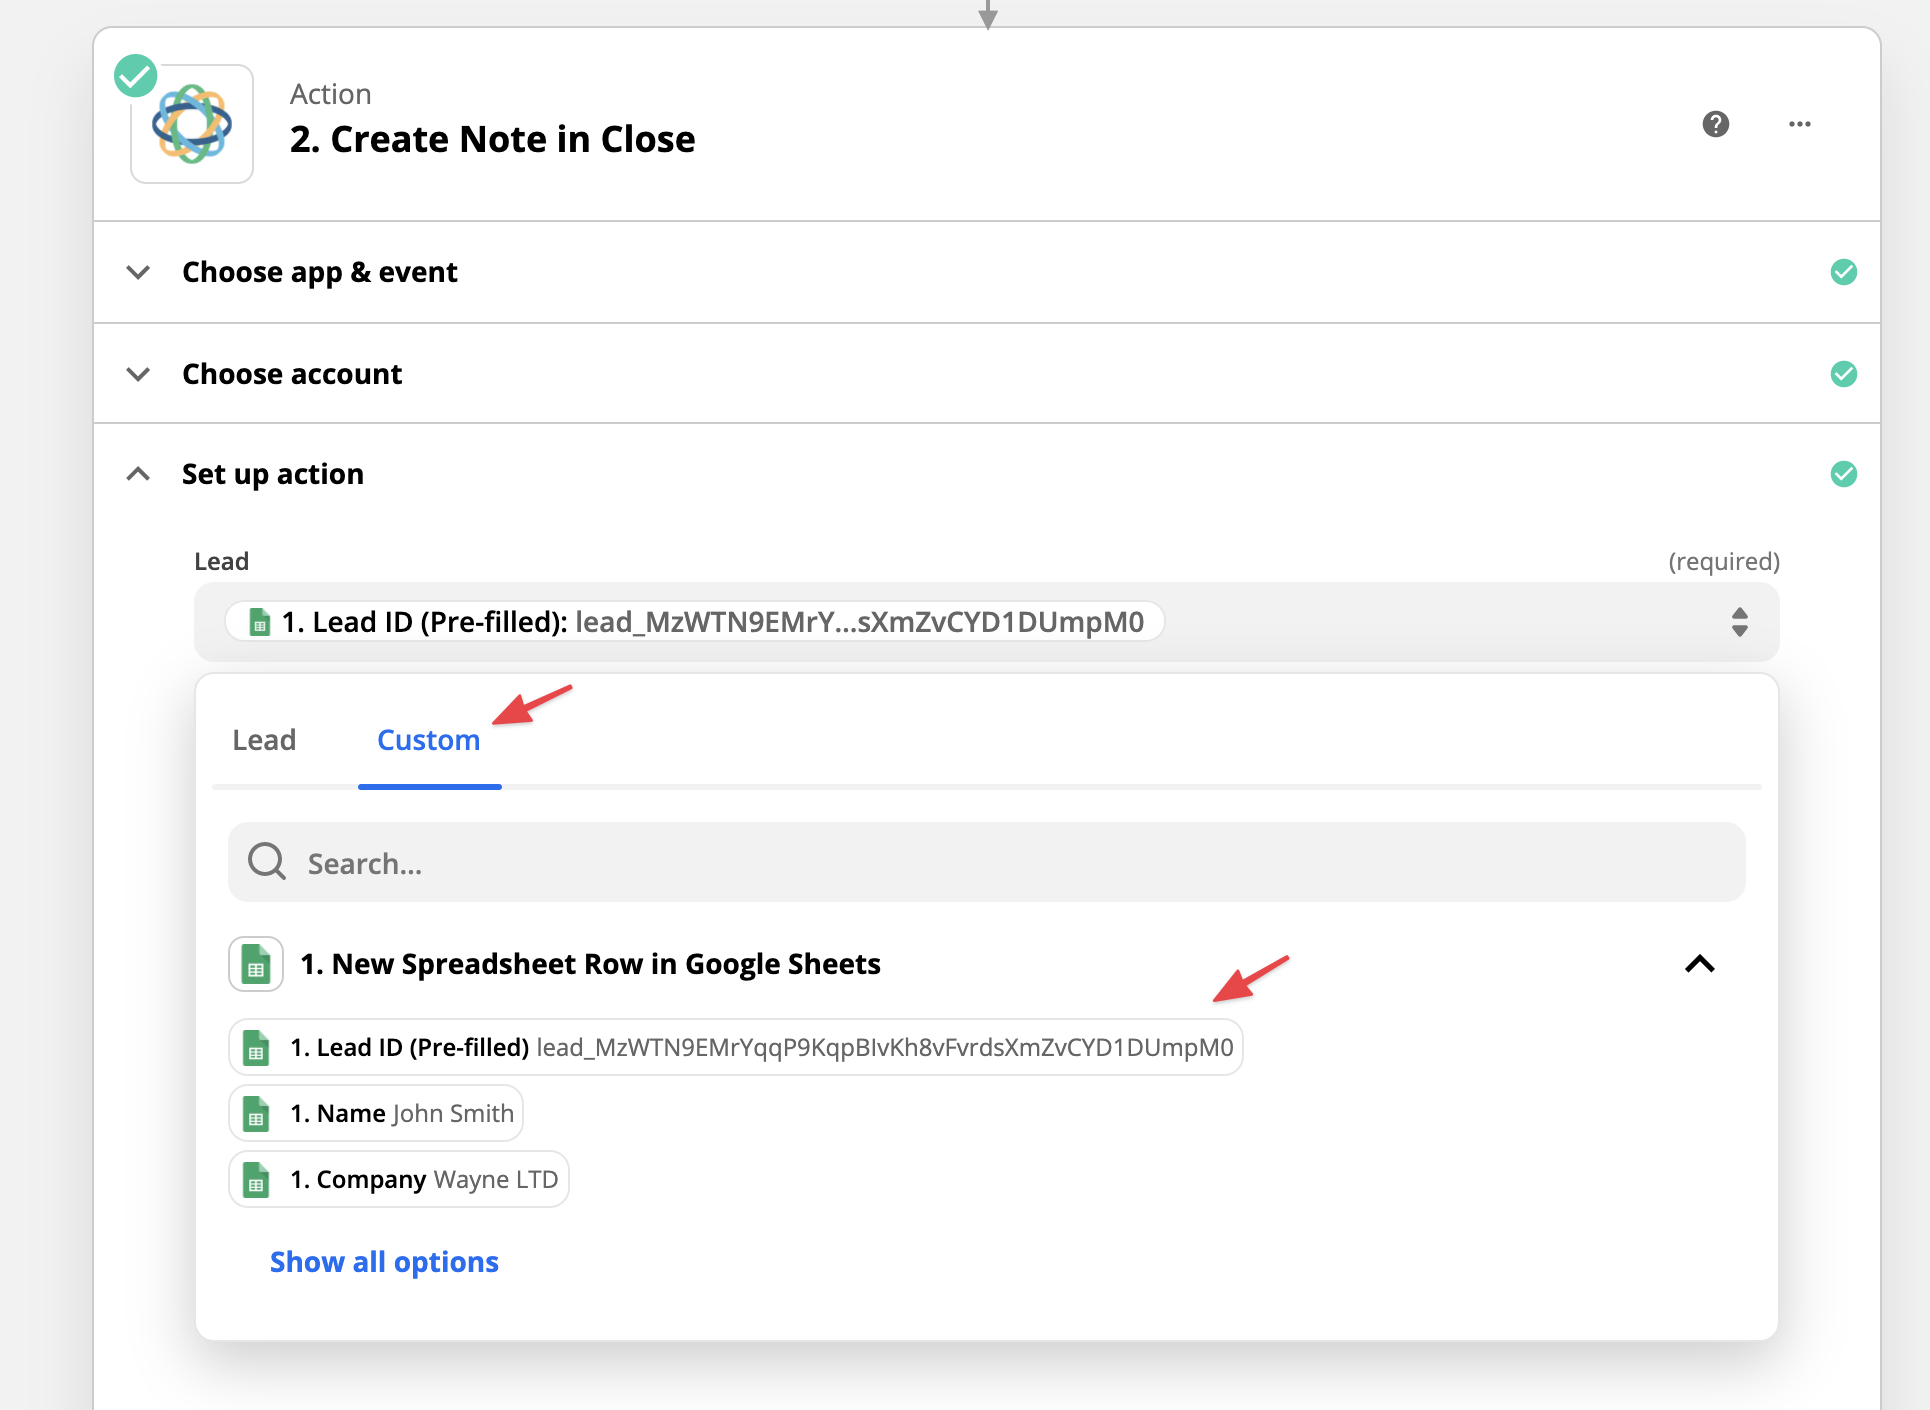
That will tell Zapier to match that particular Google Form response with a lead in Close.
For a Note format use the Text field. For example, in our case, we have 2 questions so our finished section will look like this:
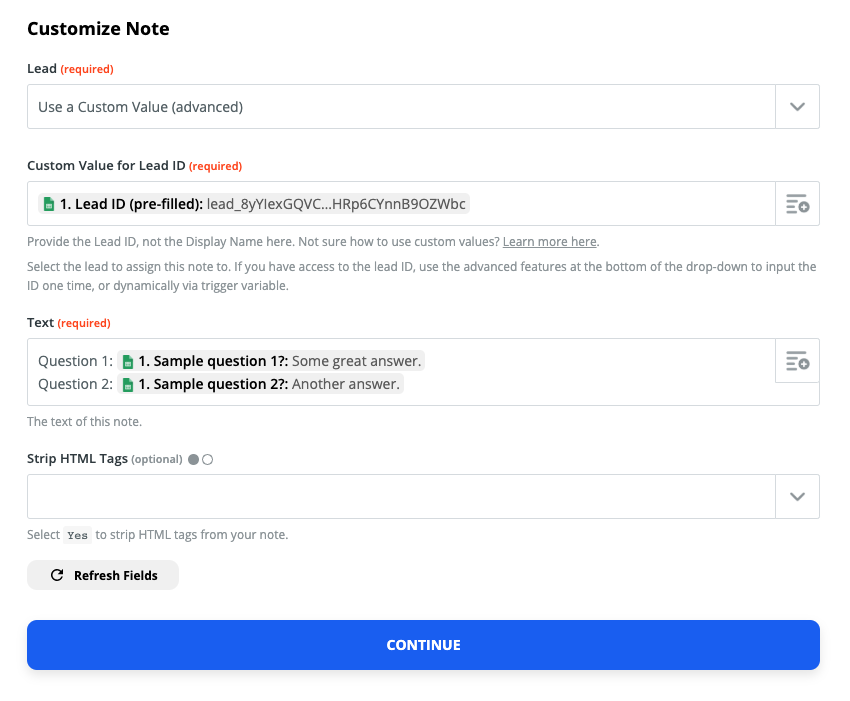
Click Continue, and again Test & Continue.
Your test Note should appear under your Close lead:
 Note in Close lead
Turn Zap On and you're good to go!
 Your Zap is Ready popup